How to Edit a PDF Without Losing Formatting: A Practical 2026 Guide
Learn how to edit text and scanned PDFs while protecting layout, fonts, images and document quality with a practical workflow.
Editing a PDF should feel simple: change a date, correct a name, update a paragraph, and save. In practice, the quality of the result depends on what the original PDF contains. Some files contain real, selectable text. Others are scans made from images. Some use embedded fonts, layered artwork, forms, tables, signatures, or complex page layouts. Treating every PDF the same is the fastest way to create a document that looks almost right but is harder to read, print, share, or trust.
This guide explains how to edit a PDF while protecting the visual structure that makes it useful. It is written for everyday business documents, CVs, reports, invoices, manuals, contracts, and scanned paperwork. You will learn how to identify the kind of file you have, choose the right editing route, preserve layout, check the exported result, and avoid common mistakes. The aim is not to promise a magical one-click edit for every document. The aim is to get the cleanest practical result with the least rework.

What does “losing formatting” actually mean?
Formatting is more than a font name. It is the relationship between every element on a page. A clean PDF usually has deliberate margins, line spacing, paragraph spacing, headings, columns, tables, images, page numbers, headers, footers, colours, and visual alignment. When you edit it, one small change can affect several of those relationships.
For example, replacing a short company name with a longer one can push text onto a second line. A missing embedded font can cause a substitute font to change the width of every letter. Editing a scanned page without optical character recognition, or OCR, can leave the old image text behind and place new text on top. Converting a complex table to an office document can split columns or move labels. These are not always software bugs. They are consequences of how PDFs store content.
Think of a PDF as a page description, not always as a word-processing document. A word processor starts with flowing text and lays it out on a page. A PDF often stores instructions for drawing text and graphics at specific positions. That makes PDFs reliable for sharing and printing, but it can make deep structural edits harder than they look.
Step 1: identify the type of PDF before you edit
The first minute of inspection saves a lot of repair work. Open the document and try to select a sentence. Copy a short phrase into a blank text editor. The result tells you what route to take.
Native-text PDFs
If you can select words individually and copied text is readable, the file probably contains a text layer. This is the best starting point for direct changes. Use Edit PDF for focused corrections, such as a name, label, date, short instruction, or note. After every significant edit, look closely at the line break before and after the edited text.
Native text still may not behave like a Word document. A PDF can split one visual line into multiple positioned fragments. It can use a subset of an embedded font. It can place text inside a graphic group. That is why a small edit should always be checked at 100 percent zoom and again at normal reading size.
Scanned PDFs
If words cannot be selected, the page may be an image-only scan. Garbled copied text can also come from font encoding in a text-based PDF; it does not by itself prove that the page is scanned. Try selecting a sentence and inspect what actually copies before choosing OCR.
Use OCR PDF to recognise text in a scan. Choose extracted text when you need words to rebuild an editable document. OCR does not recover the original fonts, paragraph structure or precise layout. Review the PDF output visually rather than assuming the recognised text is an invisible layer in its original position. Check names, numbers, dates and table values: recognition can confuse O with 0 or l with 1.
Hybrid PDFs
Many real documents are hybrid files. A CV may contain selectable text plus a scanned signature. A report may have native headings and image-only charts. A product brochure may use live text in some areas and flattened artwork in others. In these files, use the route that matches the section you need to change. Do not convert the entire document if a small direct edit is enough.
Protected, damaged, or restricted PDFs
If the file asks for a password, first make sure you are authorized to access it. Use Unlock PDF only for documents you own or have permission to process. If a normal viewer cannot open the file or pages appear blank, try Repair PDF before converting or editing. A damaged structure can create misleading conversion results.
Step 2: keep an untouched original
Before editing, duplicate the source file and name the copy clearly. A simple pattern is proposal-original.pdf, proposal-edit-01.pdf, and proposal-final.pdf. This is not bureaucracy. It gives you a clean reference when an export changes a margin, substitutes a font, or removes a form field.
If the file contains sensitive information, keep the original in the right place for your organisation. Avoid sending versions through unnecessary channels. When you need to share the final PDF, use Protect PDF where a password is appropriate, and make sure the recipient has a separate secure way to receive that password.
Step 3: use direct PDF editing for small, local changes
Direct editing is usually the cleanest option when the change is limited and the file has a usable text layer. It avoids a full document conversion and reduces the chance of broad layout movement.
Before editing, zoom in and identify the complete text block. Do not assume one word is independent from the paragraph around it. Replace only what you must. Keep the new wording close in length to the old wording whenever possible. A one-word replacement is easier to preserve than a rewritten paragraph.
After making the change, check five details:
- Font appearance. Does the replacement look like the surrounding text in weight, width, and size?
- Line break. Did text wrap into a new line or leave an awkward gap?
- Alignment. Does the text still line up with nearby labels, columns, and margins?
- Colour and emphasis. Is the new text consistent with the existing colour, bold weight, underline, or heading style?
- Reading order. Can someone copy, search, or read the sentence naturally after the edit?
If the replacement changes the layout, shorten the wording first. If wording cannot change, use a controlled conversion workflow instead of forcing a local patch to fit.
Step 4: convert to an editable document when the edit is structural
Some edits are larger than a PDF text box can safely handle. Rewriting a multi-page report, changing table structure, redesigning a CV, translating a full document, or updating a policy across many pages usually works better in an editable source format.
Use PDF to Word to create a working document, edit the content in a word processor, and use Word to PDF to create a new PDF when the content is ready. This route gives you paragraph reflow, spelling tools, styles, comments, and table controls that a PDF viewer may not provide.
Conversion is not a promise that every page will be pixel-identical. Complex PDFs can contain elements that do not map perfectly to Word, especially decorative layouts, tightly positioned text, vector artwork, unusual fonts, multi-column tables, and forms. Use conversion when editability matters more than preserving every drawing instruction. Then compare the exported PDF with the original page by page.
For financial tables, use PDF to Excel only when the table must become data that can be checked, calculated, or reused. Verify values and column boundaries before relying on a converted spreadsheet. Tables are a common place for visually plausible but semantically wrong results.
Step 5: handle scans with OCR before adding text
The most common bad edit on a scan is a duplicate-text effect: the old printed words remain visible and new typed words are placed over them. It looks acceptable at a glance but becomes obvious when printed or zoomed. The correct approach depends on whether you are correcting a small label or rebuilding meaningful content.
For a visual annotation, add a clearly separate note rather than pretending the original scanned words were edited. Covering words with a shape changes the appearance but is not secure redaction and can leave underlying or recognised text accessible. For an actual correction, rebuild the affected text in an editable document and export a new PDF.
For a large change, convert the recognised text into an editable document, rebuild the affected section with proper paragraphs and spacing, then export again. This is slower than typing over a scan, but it produces a document that can be searched, copied, reviewed, and updated later. Adobe’s guidance on scanned-document editing also emphasises recognising text first and reviewing the recognition result before editing. Read Adobe’s OCR guidance.
OCR does not automatically know your business vocabulary, customer names, product codes, or local addresses. Treat it as an accelerator, not a final proofreader. The higher the legal, financial, technical, or safety impact of the document, the more carefully it must be reviewed by a person.
Step 6: preserve fonts, spacing, and page geometry
Most visible PDF differences come from a few predictable causes. Understanding them makes troubleshooting faster.
Fonts and font substitution
A PDF can embed fonts so the document looks the same on another computer. If a font is not available during an edit or conversion, software may substitute a similar font. Similar is not identical. Character widths, kerning, punctuation, and line height can all change.
When a precise font match is not possible, choose the path that keeps the original PDF text untouched and limits the change to a discrete area. For a larger revision, work from the original source file if you have it. The original Word, PowerPoint, design file, or template usually gives a better result than reverse-engineering a finished PDF.
Line spacing and paragraphs
PDF text may be positioned line by line. Adding characters can cause one line to overlap the next or move past a boundary. Keep edits concise. Where a paragraph must be rewritten, move to an editable source workflow. After export, inspect the page at 100 percent and also print or use a print preview, because some line collisions are more obvious on paper.
Tables and columns
Tables depend on alignment. If the PDF contains live table text, change a single cell only when you can preserve the column structure. If rows or columns must change, use an editable table in Word or Excel, then export. Do not use repeated spaces to imitate columns; it breaks easily on another device and can collapse during conversion.
Images, charts, and logos
Avoid re-compressing images repeatedly during an editing cycle. Each lossy export can reduce quality. Keep the highest-quality working version until approval, then use Compress PDF once at the end if the file needs to be smaller for email or upload. Always compare charts, small labels, and logos after compression.
Step 7: use a page-by-page quality check
Never trust only the editing canvas. Save or export a test PDF, open it in a separate viewer, and compare it with the original. The checking process should be deliberate:
- View both documents at the same zoom level.
- Review the first page, edited pages, and final page first.
- Search for the old value and the new value.
- Check headers, footers, page numbers, bookmarks, and links.
- Inspect tables, bullets, superscripts, subscripts, and currency symbols.
- Print preview any file intended for signing, filing, or physical distribution.
- Ask a second person to review high-stakes changes.
For visual or wording differences between versions, Compare PDF can support a more disciplined review workflow. Compare tools are useful for finding changes, but they do not decide whether a change is correct. A human still needs to confirm that the intended edit appears and nothing important moved.
Step 8: choose a format that matches the final use
The best final PDF depends on what happens next. A document sent to a client may need clear display and a manageable file size. A compliance or records workflow may need a stable archival format. A collaborative review file may need comments or form fields. A signed document may need its layout preserved exactly.
If long-term preservation is the goal, use PDF to PDF/A and then validate the output in the receiving workflow. PDF/A is designed for archival use, but it does not make every source document perfect automatically.
If a document contains form fields that must be retained, test those fields after every conversion. Flattening can remove interactive form fields; password protection applies access restrictions. Neither should be described as making a document impossible to edit. Choose the operation for the recipient's requirements and verify the saved copy.
Step 9: avoid these common mistakes
Typing over a scanned page. New text does not erase the original image or an existing text layer. Rebuild the section for a genuine correction; use a separate redaction workflow for sensitive information.
Using a conversion tool for a two-word correction. Full conversion adds more moving parts than a targeted edit. Start with the least disruptive route.
Assuming a preview is the final export. Browser previews can differ from downloaded files. Always open the downloaded result.
Compressing before editing. Compression can reduce image detail and make OCR or visual matching harder. Edit first, compress last.
Ignoring the source file. If the original Word, presentation, or design file exists, it is usually the best place for major edits.
Skipping a human review after OCR. Recognition errors are often small, which makes them easy to miss and potentially costly.
Sending an unprotected confidential file. Use the appropriate access control for the context, and do not rely on a file name alone to signal sensitivity.
A practical workflow for common situations
Correcting a name, date, or reference number
- Keep an untouched original.
- Check whether the value is selectable text.
- Use Edit PDF for the local change.
- Match the nearby style and check the line break.
- Download and review the edited page at 100 percent.
- Use Protect PDF if the result contains private information.
Updating a scanned letter or certificate
- Make a copy of the source PDF.
- Run OCR PDF.
- Check every name, number, and date that OCR reads.
- Decide whether the change is local or whether the page needs rebuilding.
- Export, review visually, and test search/copy behaviour.
Rewriting a report or CV
- Find the original editable file if possible.
- If it is unavailable, use PDF to Word.
- Apply larger revisions in the editable document.
- Export using Word to PDF.
- Compare the original and final versions, especially headings, tables, page breaks, and contact details.
- Compress only after content approval.
Preparing an archive or formal submission
- Repair the file first if a viewer reports an error.
- Confirm the final wording and layout.
- Convert to PDF/A when the receiving organisation requires an archival PDF.
- Open the result in a separate viewer and keep the source copy according to your retention policy.
Frequently asked questions
Can every PDF be edited without changing its layout?
No. A PDF with native, embedded text and simple layout is usually easier to edit cleanly than a scan, a flattened design, or a document with complex fonts and tables. The safest approach is to identify the file type first and use the smallest change that solves the problem.
Why does edited text look different from the original?
The original font may be embedded, subsetted, unavailable, or part of a graphic layer. A replacement font can have different letter widths and line height. For large changes, edit the original source file or use a conversion workflow and review the exported PDF carefully.
Does OCR make a scanned PDF fully editable?
No. OCR recognises words; it does not recreate the original editable source. Extracted text needs proofreading and layout reconstruction. Check the PDF output separately, especially names, numbers and tables.
Should I compress my PDF before editing it?
Usually no. Edit and approve the final document first. Then compress one time if you need a smaller file. This preserves more visual detail during the working process.
How do I know whether my final PDF is ready to send?
Open the downloaded file in a separate viewer. Check every edited page, search for key words, inspect the result at normal and 100 percent zoom, and use a second reviewer for important documents. Confirm that the filename, security setting, and file format fit the recipient’s needs.
Final checklist
Before you send or archive an edited PDF, confirm that the final version has the correct wording, readable layout, correct pages, working links or form fields where applicable, a clear filename, and the right level of protection. Keep the original until the edited document has been accepted. The goal is not only to make a change. It is to make a change that remains reliable when the PDF is opened on another device, printed, searched, shared, or reviewed months later.
For more practical PDF workflows, explore the LoveMyFiles tools that fit your task.
Try a related tool
Edit PDF files online. Add text, images, highlights, shapes and freehand annotations, then download a separate PDF.
Edit PDF Online - Add Text, Images and Annotations | LoveMyFilesRelated Guides
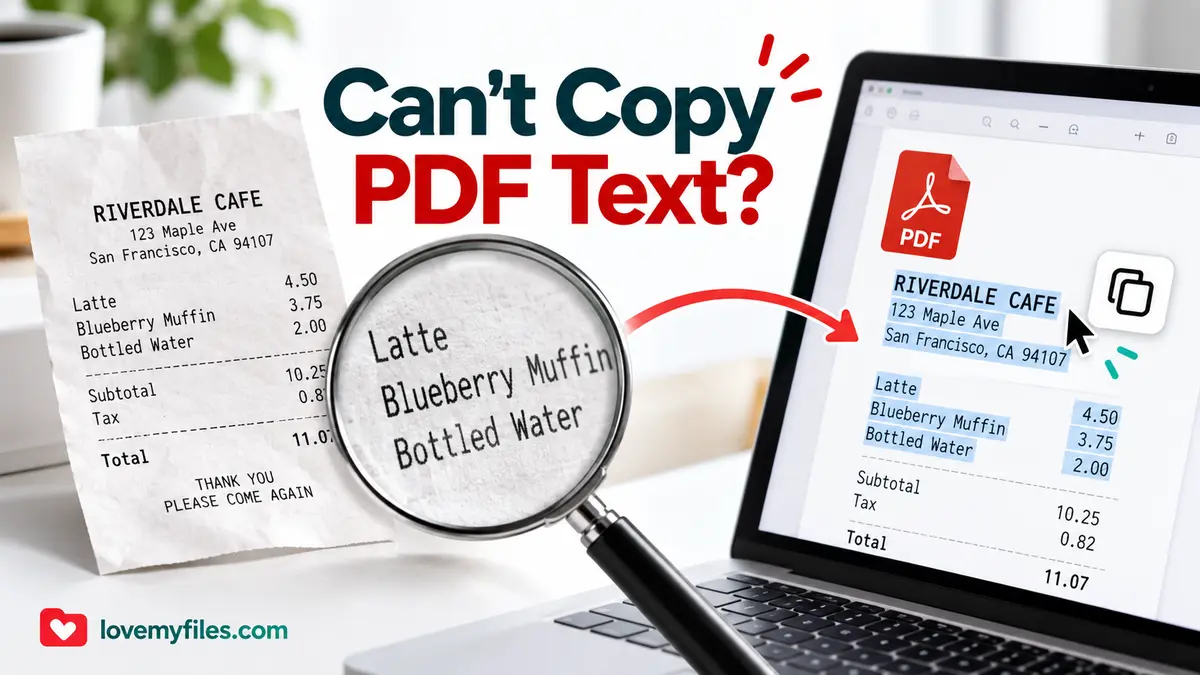
Cannot Copy Text from a PDF? Check the Cause Before Using OCR
Distinguish scanned pages, extraction problems and copy restrictions. Choose OCR or Word conversion carefully and verify names, numbers and reading order.
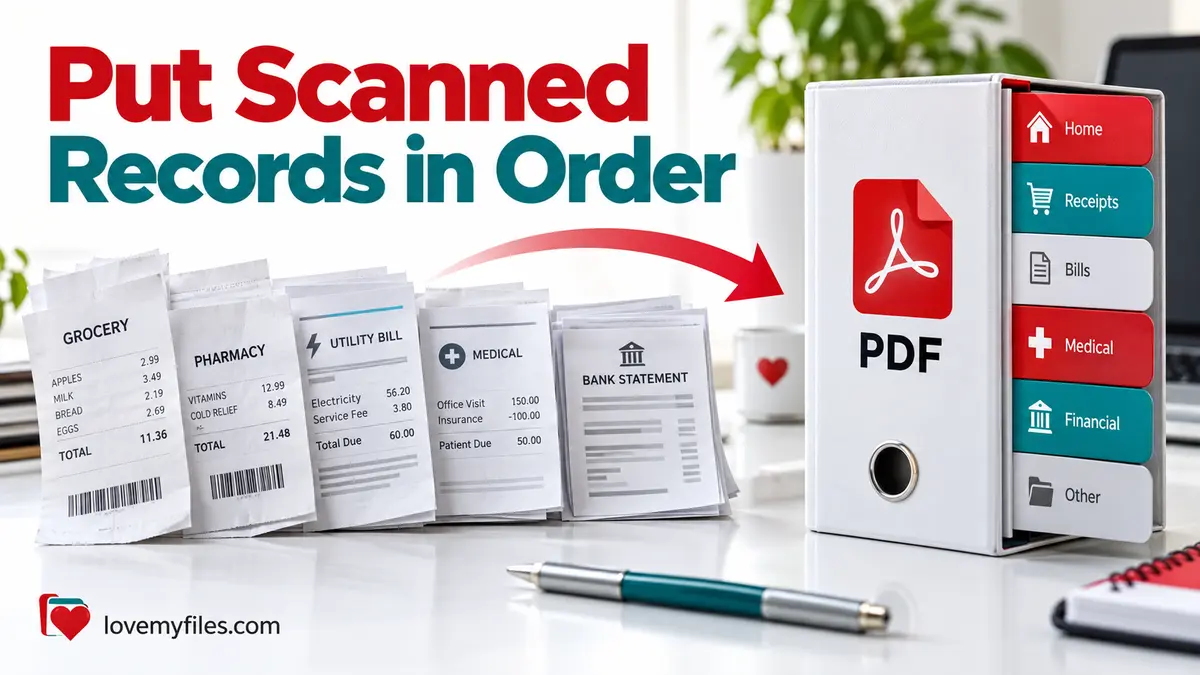
Organise Scanned Receipts and Documents into a Usable Sharing Copy
Prepare clear document images, group related PDFs, extract text when appropriate and check privacy without treating OCR output as verified financial data.
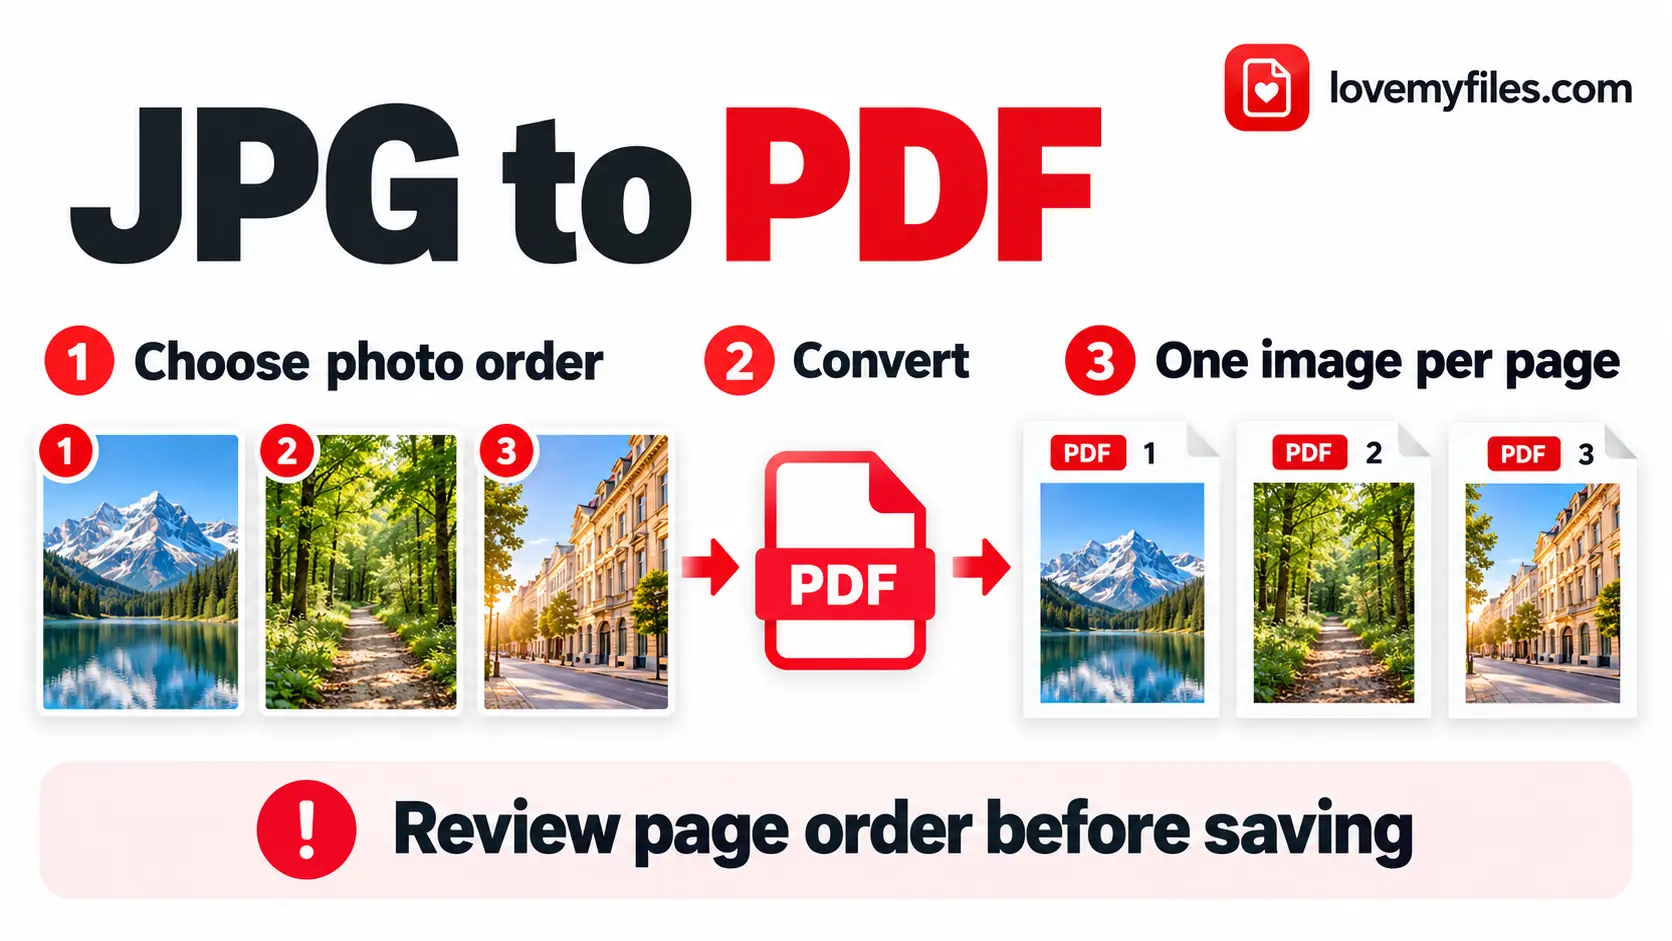
How to Convert Multiple JPGs to One PDF for Free
Combine JPG and PNG images into one PDF with LoveMyFiles.com. Set page order, size, orientation and margins, then check readability and upload size.
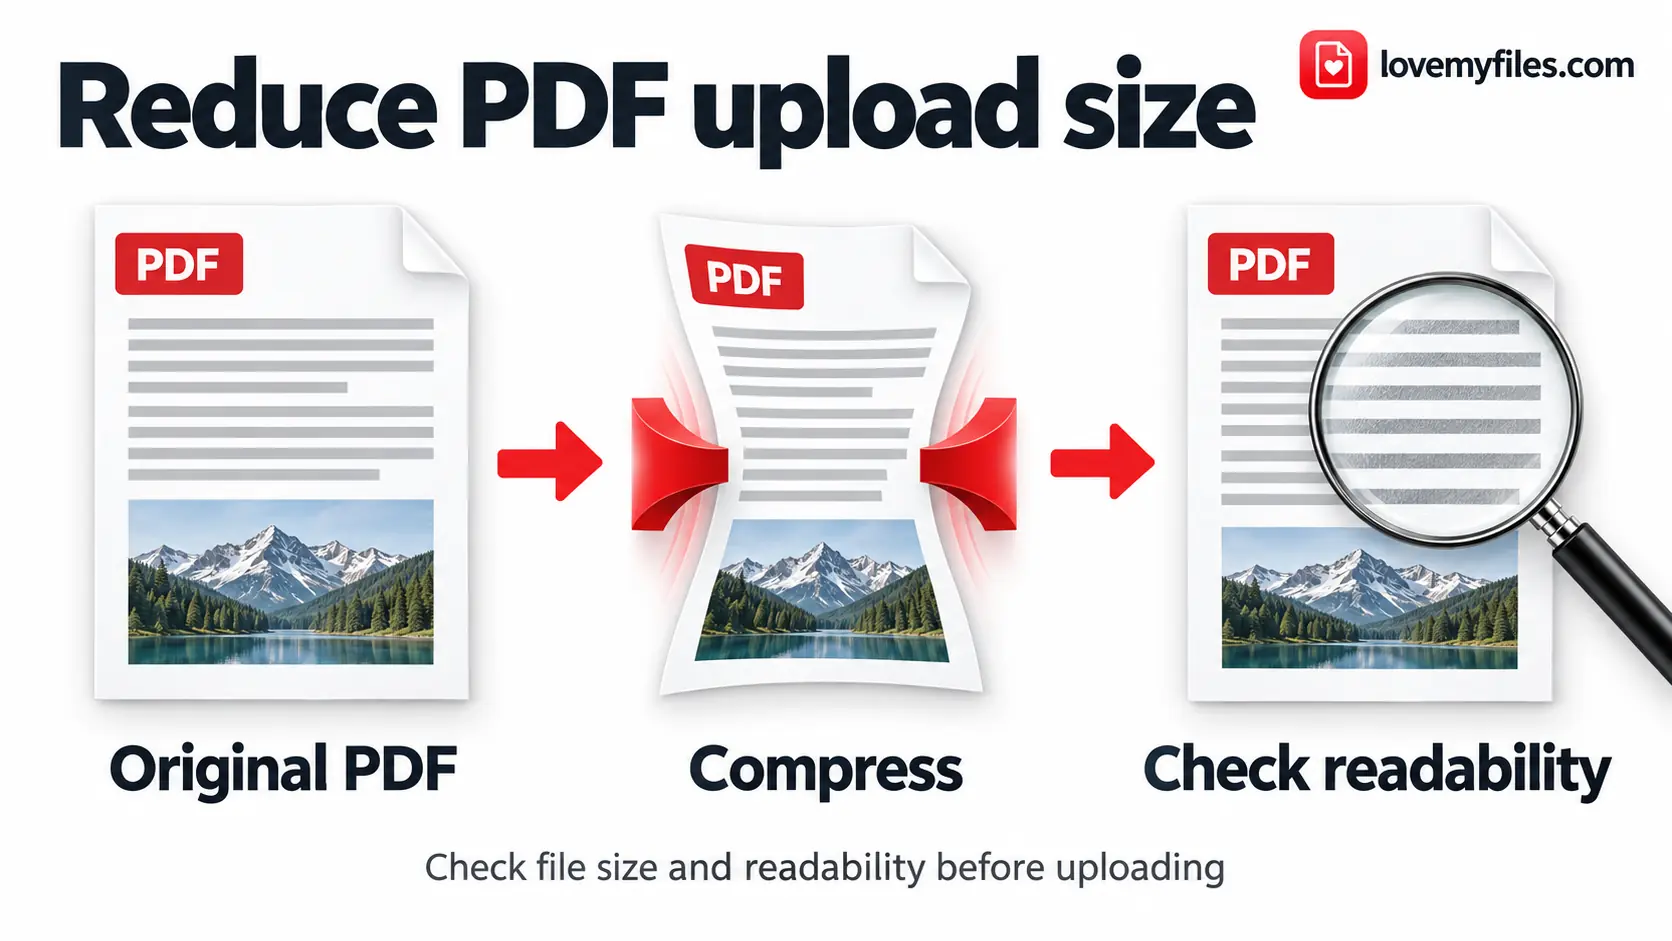
How to Reduce PDF Size for Upload Limits
Reduce PDF size for 1MB, 500KB, 200KB or 100KB upload limits. Choose a preset, check actual bytes, and keep scans readable with LoveMyFiles.com.