How to Convert Multiple JPGs to One PDF for Free
Combine JPG and PNG images into one PDF with LoveMyFiles.com. Set page order, size, orientation and margins, then check readability and upload size.
To combine several photographs into one PDF, open the free JPG to PDF tool on LoveMyFiles.com, select your images, arrange their order, choose the page settings, and convert. The tool accepts 1-20 JPG/JPEG or PNG images and creates one PDF page for each image. You download a single PDF containing those pages in the order you chose.
This is useful when a recipient wants one document instead of separate photo attachments. Before starting, check whether that recipient specifies a page size, colour requirement, or maximum file size.
Convert multiple JPGs to one PDF: quick steps
- Open JPG to PDF and choose Select JPG images. PNG images are also accepted.
- Select the source images, or drop them into the tool. Use Add images if you need to add more, up to 20 in total.
- Check the thumbnails. Drag them into reading order, or use the left and right arrow buttons to move an image. Remove an unwanted image with its delete button.
- Choose Page size, Orientation, and Margin. The defaults are A4, Automatic orientation, and Small margins.
- Select Convert to PDF, wait for upload and processing to finish, and use Download PDF on the result page.
- Open the downloaded PDF and check the page count, order, orientation, visible detail, and file size before sharing it.
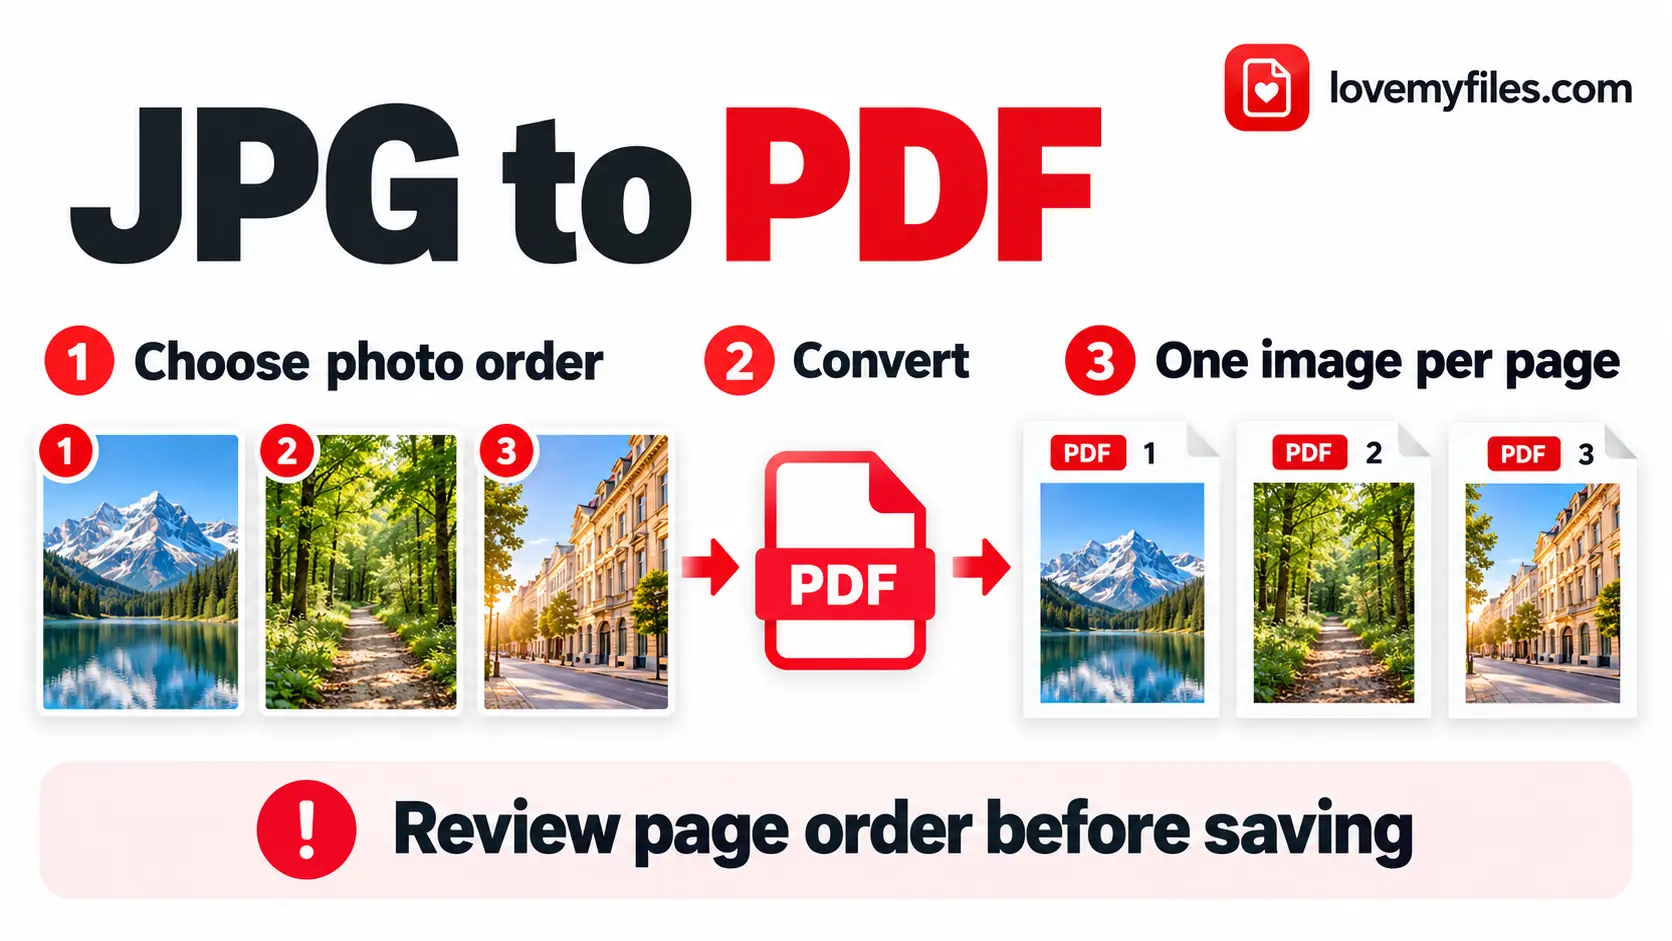
Illustration: the chosen photo order becomes the PDF page order. This is a workflow diagram, not a screenshot of the tool.
Prepare images that will make readable pages
For photographed paperwork, use one clear image per document page. Include the complete page, keep the camera reasonably square to it, and avoid shadows or reflections across the writing. Conversion cannot recover a character that is blurred or cut off in the source photograph.
Open each source image before selecting it. Check the smallest writing, the edges, and any important numbers or stamps. Rotate sideways photographs in your image editor and save the corrected copies before conversion. The converter changes the PDF page layout; it does not provide an image-rotation control.
Large camera images can make a large PDF. If their dimensions are excessive for the recipient's needs, use Resize Image to prepare smaller copies while preserving the aspect ratio. Check the resized writing before continuing. The image optimization guide explains how dimensions and format affect the result.
JPG and JPEG are accepted extensions for JPEG images. If your phone supplies HEIC or another format, export a compatible JPG or PNG before using this converter. The Image Converter lists its available input and output formats. Changing a filename from .heic to .jpg is not a format conversion.
Choose the page layout
Page size, page orientation, and margins answer different questions: how large the page is, which way the page is arranged, and how much space surrounds the image. Choose them together based on how the recipient will read or print the PDF.
| Control | Available options | How to choose |
|---|---|---|
| Page size | A4, Letter, Fit to image | Use A4 or Letter when the recipient expects that paper size; use Fit to image when each page should follow its source image's dimensions |
| Orientation | Automatic, Portrait, Landscape | Automatic follows each image's width and height; a fixed orientation gives the pages a consistent direction |
| Margin | No margin, Small, Large | Choose the space you want around each image; Small is 10 mm and Large is 20 mm |
A4 and Letter provide a consistent paper size
The converter scales each image proportionally to fit within the chosen page and margins, then centers it. It does not stretch a narrow image to fill a wider page or crop its edges to remove empty space. Different image shapes can therefore leave different amounts of blank space even when every page uses A4.
Choose the recipient's requested size when one is specified. For printing, inspect a print preview rather than assuming a PDF page and the printer's printable area are identical.
Fit to image can produce different-sized pages
Fit to image derives page dimensions from each image's pixel width and height, plus the chosen margins. A mixture of a wide photograph and a tall receipt can produce pages with different shapes and sizes. That may suit on-screen viewing, but it is worth checking before printing or submitting to a system that expects uniform pages.
This option changes page dimensions. It is not a compression setting and does not promise a smaller PDF.
Automatic orientation does not correct a sideways photo
Automatic chooses a landscape page for an image wider than it is tall and a portrait page otherwise. A batch can therefore contain both orientations. Choosing Portrait or Landscape changes the page direction, but neither choice turns the writing upright inside the source photograph.
If a document is lying sideways within a landscape image, rotate the actual image first. Then choose the page orientation that suits the corrected photograph.
Margins do not remove background inside the image
No margin removes the added page margin, but it does not crop out a photographed desk or border already present in the image. It also does not guarantee edge-to-edge coverage when the image and page have different proportions. Prepare the source framing first if you want less surrounding background.
Example: assemble photographs of a three-page document
Suppose you have photographs of a cover page, a details page, and a signed final page. Inspect all three images, then select them and put the cover first, details second, and signed page last. Camera filenames alone do not establish the correct reading order.
If the recipient requests A4, choose A4. Use Portrait for upright document pages when you want a consistent direction, and start with Small margins. Convert once, then check the downloaded PDF has three pages and that the signed page is complete. These settings are a starting workflow, not a claim that every photograph will fit the same upload limit.
Using images from a phone
The same converter controls apply in a mobile browser. The device's file picker determines whether images are selected from a photo library, a files app, or another location. If it lets you select only one image at a time, use Add images to build the batch. Use the arrow buttons when dragging thumbnails is awkward on a touch screen.
Check the files actually added to the list. A phone may supply a format other than JPG or PNG, and a large selection can reach the 20-image ceiling. Keep the browser page open while upload and processing finish, then open the downloaded PDF from the device's download location.
What conversion does and does not change
This workflow packages the selected images as pages in a PDF. It preserves their proportions when fitting them into the available page area. The form has no image-quality slider, no target output-size field, and no option to place several photographs on one page.
Text photographed within an image remains image content. Conversion does not automatically make it searchable or editable. Adobe's explanation of scanned PDFs distinguishes image data from searchable text produced by OCR. Use OCR PDF as a separate recognition step when you need text from the finished document, and review the recognized names and numbers.
For further changes, the PDF editing and formatting guide explains why a photographed page needs a different approach from a PDF containing native text.
Troubleshooting
An image is missing from the list
Check that it is a valid JPG/JPEG or PNG file and that the batch has fewer than 20 images. The frontend also avoids adding a second selection with the same filename, file size, and last-modified value. Compare the visible thumbnails with the files you intended to include before converting.
I need more than 20 images in one document
Create ordered batches of up to 20 images, download each resulting PDF, then combine those PDFs with Merge PDF. Keep the batch order clear and verify every page in the merged document. The final file may still need size reduction to meet the destination's rules.
The pages are in the wrong order
Return to the original images and change their thumbnail order before converting again. The converter uses that selected order. It does not infer document sequence from the text visible in a photograph.
There is too much blank space
Check the image's shape against the chosen page size and orientation. A very wide image on an A4 portrait page leaves space because its proportions are preserved. Try the appropriate orientation or Fit to image if the destination permits it. Reduce the margin only if the extra space is an added margin, rather than part of the photographed image.
The PDF is too large to upload
Creating a PDF does not guarantee that the combined images become smaller. Start with Compress PDF on the completed document and inspect the downloaded result. If necessary, prepare smaller source images and recreate the PDF. Keep important writing readable throughout; JPEG compression is lossy, so repeated aggressive image exports are a poor way to protect fine detail.
Upload or conversion fails
Open each source image independently to check it is valid. Confirm the input format and batch count, then use the validation message to identify a rejected file. Individual upload limits are configuration-dependent, so follow the current tool message instead of assuming a fixed MB allowance. For a connection failure, check your connection and retry with the original files.
Where are the images processed?
The thumbnails are previews in your browser. Selecting Convert to PDF uploads the images to LoveMyFiles.com's server, where the PDF is created. Processing files use private storage outside the public web directory, and job and download access require the matching user or guest identity. The previews do not mean the entire conversion stays on your device. Read the current Security and Privacy pages when deciding what to upload.
Frequently asked questions
Can I mix JPG and PNG images in the same PDF?
Yes. Both are accepted within the same batch, up to 20 images in total. Arrange the mixed images in the order you want their pages to appear.
Can I put several photographs on one PDF page?
The JPG to PDF converter places one source image on each page. To show several pictures on a page, prepare a single combined image beforehand, then use that image as one input page.
Does Automatic orientation fix a sideways photograph?
No. It chooses the page direction from the image's dimensions. Rotate the photograph itself before uploading if its content is sideways.
Does conversion make photographed text searchable?
No. The conversion step embeds images; text recognition is a separate task. Use OCR when searchable or extracted text is required, and check its accuracy.
Does Fit to image guarantee a smaller PDF?
No. It controls page dimensions, not a target byte size. Check the downloaded PDF's actual size before submitting it.
When your images are ready, convert JPGs to one PDF free on LoveMyFiles.com. Check the finished document once, then share the ordered PDF rather than separate photo files.
Try a related tool
Convert 1 to 20 JPG or PNG images into one PDF. Arrange image order and choose page size, orientation, and margins online.
JPG to PDF Converter OnlineRelated Guides
Organise Scanned Receipts and Documents into a Usable Sharing Copy
Prepare clear document images, group related PDFs, extract text when appropriate and check privacy without treating OCR output as verified financial data.
Build an Event Sharing Kit with PDFs, Images, Short Links and QR
Prepare an event PDF, screen images, a managed link and a printable QR. Check privacy, file quality and the complete visitor journey before sharing.
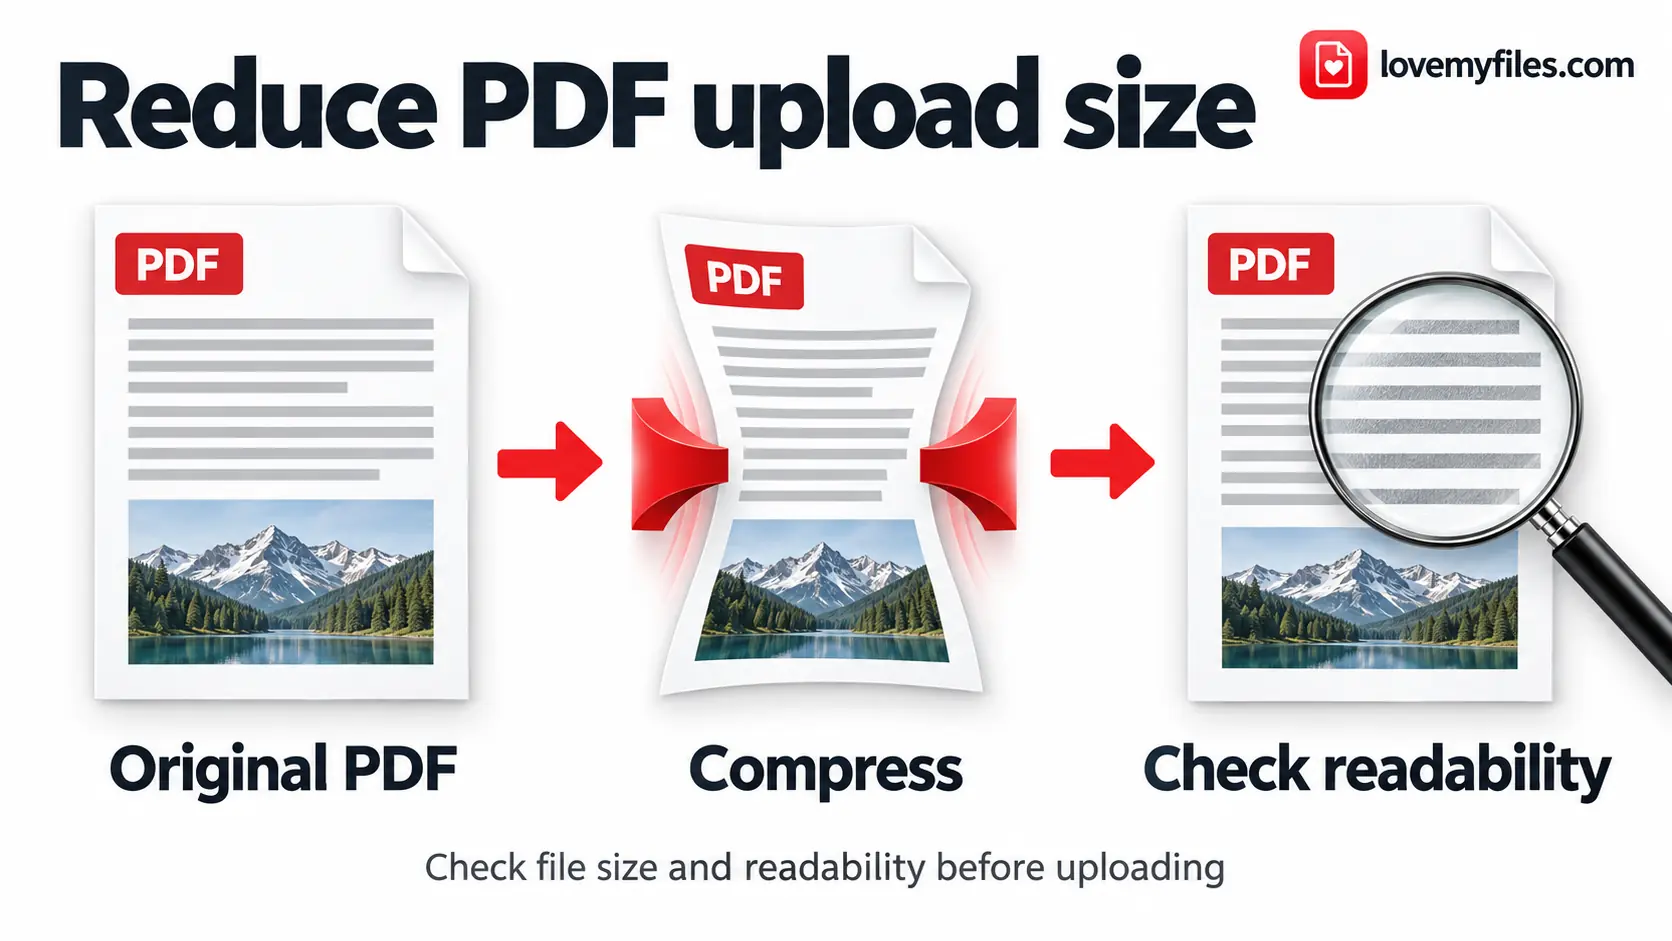
How to Reduce PDF Size for Upload Limits
Reduce PDF size for 1MB, 500KB, 200KB or 100KB upload limits. Choose a preset, check actual bytes, and keep scans readable with LoveMyFiles.com.
PDF Too Large for a Job Application? How to Make Your Resume Smaller
Resume too large to upload? Check the job portal's limit, compress a copy and review the downloaded text, links and layout. If it is still too large, optimize the source images and export again. Keep selectable text for application systems that extract your details.