Image Optimization Guide: JPEG, PNG, WebP or AVIF?
Choose the right image format, dimensions and compression settings for faster websites, email and reliable uploads.
Use JPEG for a photograph that needs broad compatibility, PNG for sharp graphics or transparent source artwork, and WebP or AVIF when the destination supports them. Compare the saved file at its intended display size: a newer format is not automatically smaller or better for every image.
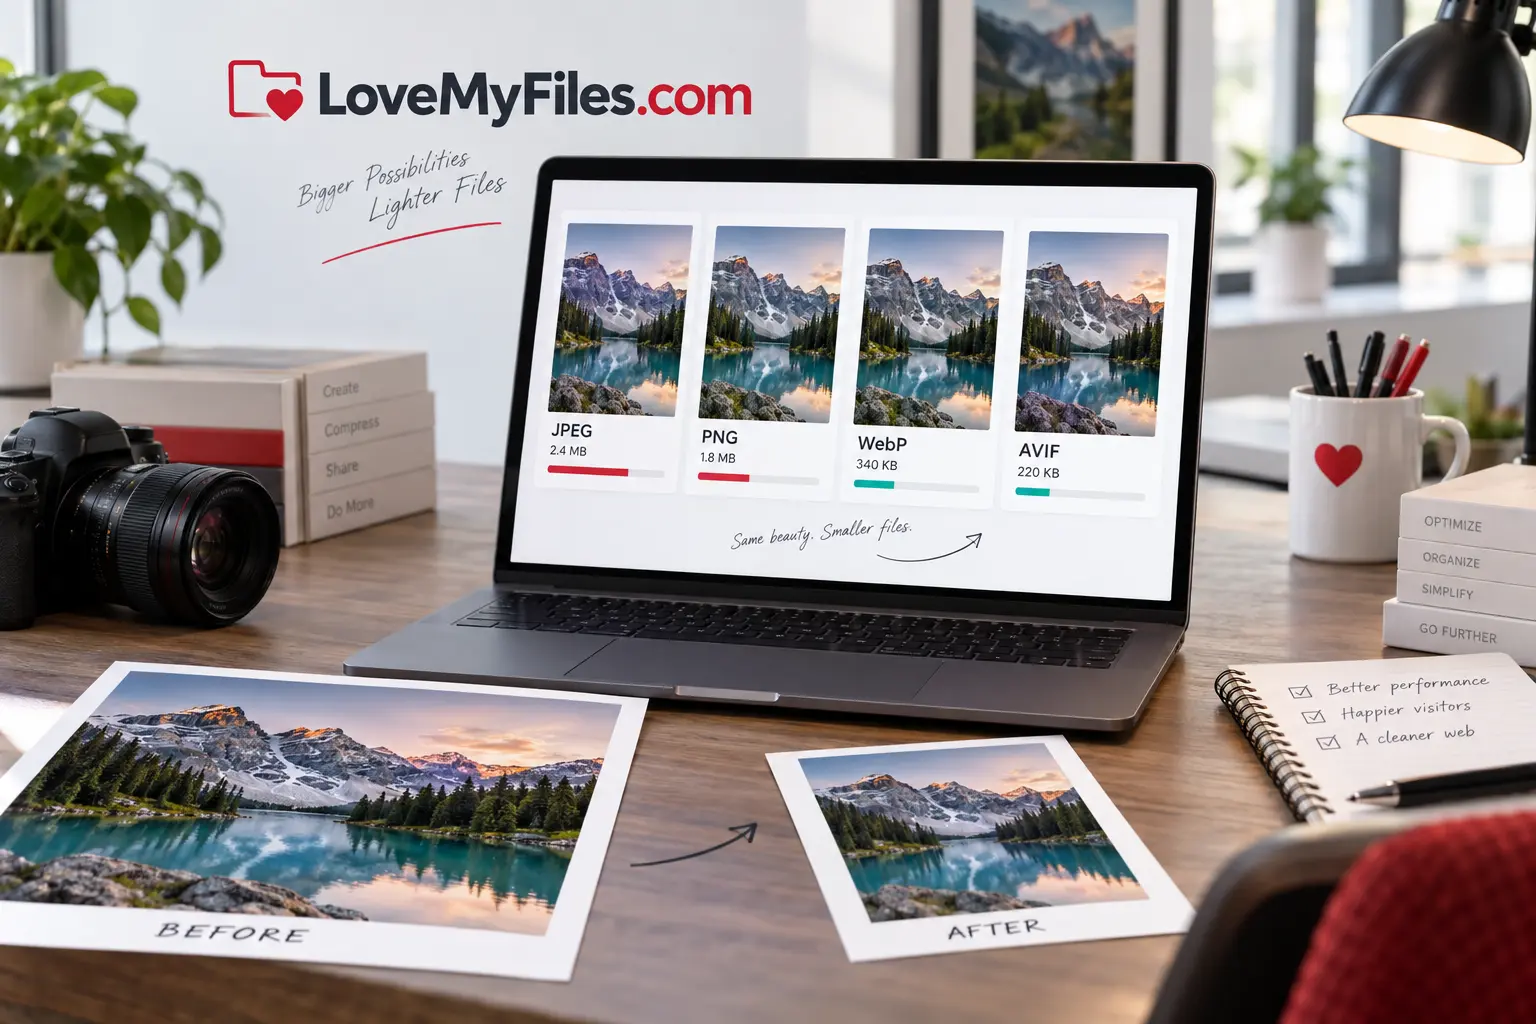
Start with the final use, not the source extension
Ask where the image will be used. A website hero needs fast loading and enough detail for a large screen. An email attachment needs a manageable file size. A marketplace may require exact pixel dimensions or a particular format. A logo may need a transparent background. A scanned form may need text to remain sharp enough to read or recognize with OCR.
Write down the required width, height, format, transparency, and maximum file size before processing. This prevents repeated conversions. Every lossy export can discard information, so it is better to keep one high-quality original and create final-use copies from it.
Use Resize Image when the pixel dimensions are much larger than the display area. Use Compress Image when dimensions are appropriate but transfer size is still high. Use the Image Converter for a required upload format. Keep transparent source artwork separately: the current browser converter paints the selected background even for PNG or WebP output, so selecting an alpha-capable format is not a transparency-preservation guarantee.
JPEG for photographs and broad compatibility
JPEG remains practical for photographs and images with smooth colour changes. It uses lossy compression, which means some visual information is removed to reduce file size. At sensible quality settings, the change can be difficult to notice at normal viewing size. At aggressive settings, edges can develop ringing, blocks can appear in flat areas, and small text can become muddy.
JPEG does not preserve a transparent background. Transparent pixels must be combined with a solid colour during conversion. Before converting a transparent image to JPEG, choose the background deliberately. White is common but may create an unwanted box on a coloured page.
Avoid repeatedly opening and resaving the same JPEG. Keep an original and make one final compressed copy. Review faces, product edges, gradients, fine patterns, and small lettering because those areas reveal compression damage quickly.
PNG for transparency, interface graphics, and sharp edges
PNG is lossless in common workflows and supports transparency. It works well for logos, screenshots, diagrams, interface elements, line art, and graphics with flat colours. A PNG screenshot containing text can stay crisp where a heavily compressed JPEG may show halos around letters.
Lossless does not automatically mean small. A large photographic PNG may be much heavier than a visually similar JPEG, WebP, or AVIF file. If the image is a photograph without transparency, converting it to a photographic format can reduce transfer size substantially. If transparency or pixel-accurate edges matter, test PNG against a modern format before changing it.
Cropping unused canvas area can reduce dimensions without lowering quality. Use Crop Image to remove empty margins before compression or conversion.
WebP as a flexible web delivery format
WebP supports lossy and lossless compression, transparency, and animation. It can be a useful delivery format for websites because it covers many jobs that previously required separate JPEG, PNG, and GIF files. The result still depends on encoder settings and source content; converting a tiny optimized JPEG to WebP does not guarantee a meaningful saving.
For a website, compare the WebP output with the original at the size visitors will actually see. Check transparent edges, gradients, text, and detailed textures. Keep source files in an editing-friendly form rather than treating a delivery WebP as the only master copy.
AVIF for efficient delivery with careful testing
AVIF can produce small files at useful visual quality, especially for photographic material, and supports transparency. Encoding and decoding characteristics differ from older formats, and compatibility in specialist software or older environments may be less predictable than JPEG or PNG.
Use AVIF when your publishing system and audience support it, and keep a fallback where necessary. Examine colour, transparency, fine detail, and loading behaviour. A smaller file that fails in the receiving workflow is not an optimization.
GIF is not the default choice for every animation
GIF is familiar and widely supported, but its limited colour palette can create banding and large files for photographic animation. It remains useful for simple, short animations in workflows that require it. For modern web delivery, animated WebP or video may be more efficient, depending on platform support and accessibility requirements.
Do not convert a still image to GIF merely because an upload form accepts it. Use PNG for sharp limited-colour graphics, or JPEG, WebP, and AVIF for photographic images when supported.
Resize before chasing an extreme quality setting
Pixel dimensions are often the largest source of waste. A 6000-pixel camera image displayed at 900 pixels asks the browser to transfer and decode far more data than the layout needs. Resize a copy to the largest realistic display size, accounting for high-density screens where appropriate, and then compress it.
Preserve the aspect ratio unless the layout requires a crop. Stretching changes geometry and can make products, faces, and text look wrong. When a fixed aspect ratio is required, crop intentionally rather than forcing width and height independently.
Check the resized output at 100 percent. Fine text and thin lines may need a larger dimension or a less aggressive resampling choice than ordinary photographs.
Understand quality controls and target-size controls
A quality control usually changes how aggressively a lossy encoder discards information. The number is not an absolute measure shared by every format or encoder. A quality value of 80 in one tool may not equal 80 in another. Compare results visually rather than assuming the number guarantees a particular appearance.
A target-size workflow attempts to approach a requested file size. It may require repeated encoding and can reduce quality more than expected if the requested size is unrealistic for the dimensions and content. If the result looks poor, reduce dimensions, simplify the crop, or accept a larger file instead of forcing an unreadable output.
LoveMyFiles reports original and processed sizes so you can judge whether the operation produced a real saving. A “0 KB saved” result can occur when the source was already efficient or the chosen output requires similar data. In that situation, keep the smaller valid version or change the strategy; do not assume processing failed solely because the saving is small.
Protect transparency, colour, and metadata intentionally
Transparency can be lost when converting to a format that does not support it. Semi-transparent edges may also develop light or dark fringes if they are combined with the wrong background. Test the image on both light and dark backgrounds when transparent edges matter.
Colour can look different across devices because of profiles, display settings, browser behaviour, and export choices. For brand-critical or print-critical work, use a managed production workflow and verify the output in the destination system.
Metadata can include camera settings, creation details, location information, orientation, captions, or rights information. Some optimization workflows remove metadata to reduce size or protect privacy. Decide what must remain before processing. Do not rely on a visual preview to tell you which metadata survived.
A reliable workflow for website images
- Keep an untouched master file.
- Determine the largest rendered dimensions.
- Crop to the intended composition.
- Resize a working copy to suitable dimensions.
- Choose JPEG, WebP, AVIF, or PNG based on content and compatibility.
- Compress once and compare the result with the source.
- Test mobile and desktop layouts.
- Confirm alt text describes the image’s purpose rather than stuffing keywords.
- Check the page with normal network and device conditions.
Image SEO is not created by a file extension alone. Use descriptive filenames, useful surrounding text, accurate alternative text, stable image dimensions, and a responsive delivery strategy. The image should support the page’s purpose. Decorative images should not receive forced keyword-heavy descriptions.
A reliable workflow for email and form uploads
First read the recipient’s size and format requirements. Resize photographs to a sensible viewing size, then compress them. Keep scans readable, especially names, numbers, signatures, stamps, and barcodes. Open the final file before sending it and confirm that orientation is correct.
If several photographs must become one shareable document, use JPG to PDF. If the receiving system needs individual images, keep them separate and use a ZIP only when the recipient accepts archives.
Common optimization mistakes
- Compressing the only original file instead of a copy.
- Converting transparency to JPEG without choosing a background.
- Uploading huge dimensions and relying on CSS to make the image look small.
- Re-exporting the same lossy file several times.
- Choosing AVIF or WebP without checking the destination’s support.
- Forcing a target size so low that text and product details become unclear.
- Treating “lossless” as automatically small.
- Removing metadata that the business or rights workflow needs.
- Writing keyword-stuffed alt text that does not help a reader.
Final quality checklist
Open the downloaded output independently. Confirm dimensions, orientation, format, transparency, file size, and visible quality. Zoom into high-risk areas and then view the image at its normal display size. Test it in the actual website, email, document, or upload form. Keep the master until the final output has been accepted.
The right image workflow is usually simple: remove dimensions you do not need, choose a format the destination supports, compress only as far as the image can tolerate, and verify the real result. Explore the complete LoveMyFiles image tools when you need to resize, crop, rotate, watermark, remove a background, or convert an image.
Check location information before sharing
Format conversion and upload-size preparation are not privacy checks. If the photo will be shared outside a trusted group, inspect and remove photo location metadata from the final copy, then check the visible picture and filename too.
Try a related tool
Convert common and advanced image formats securely.
Image ConverterRelated Guides
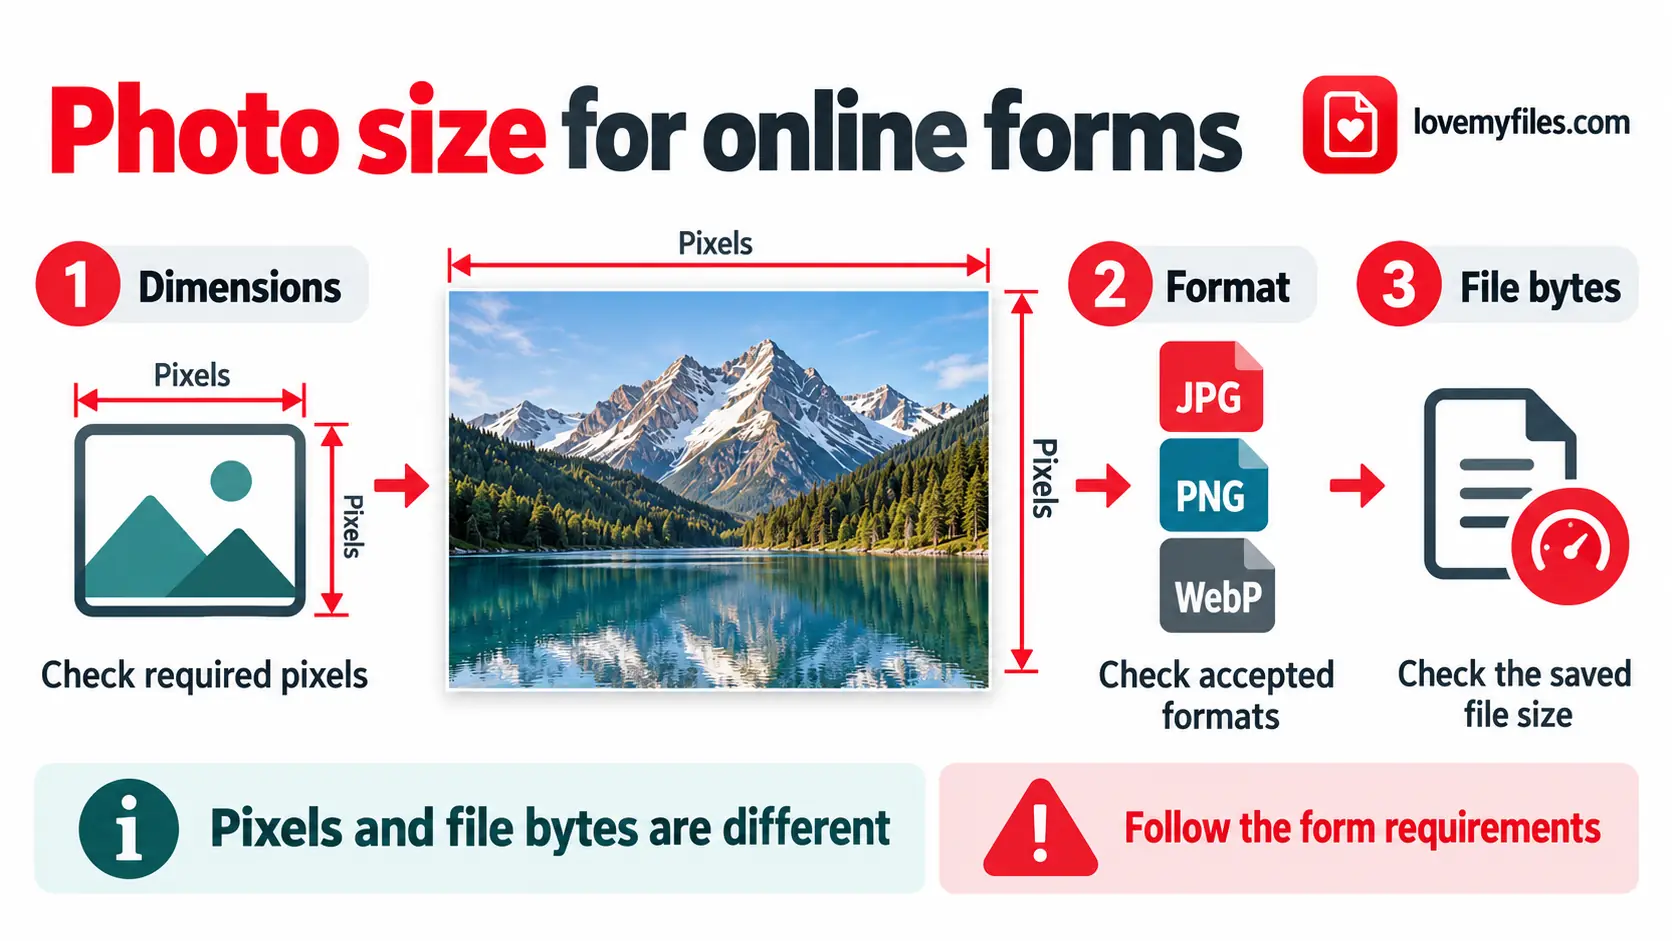
How to Reduce Photo Size to 20KB, 50KB, 100KB or 200KB
Match a photo's dimensions, format and file size to an upload form using resize, conversion and target-size compression.
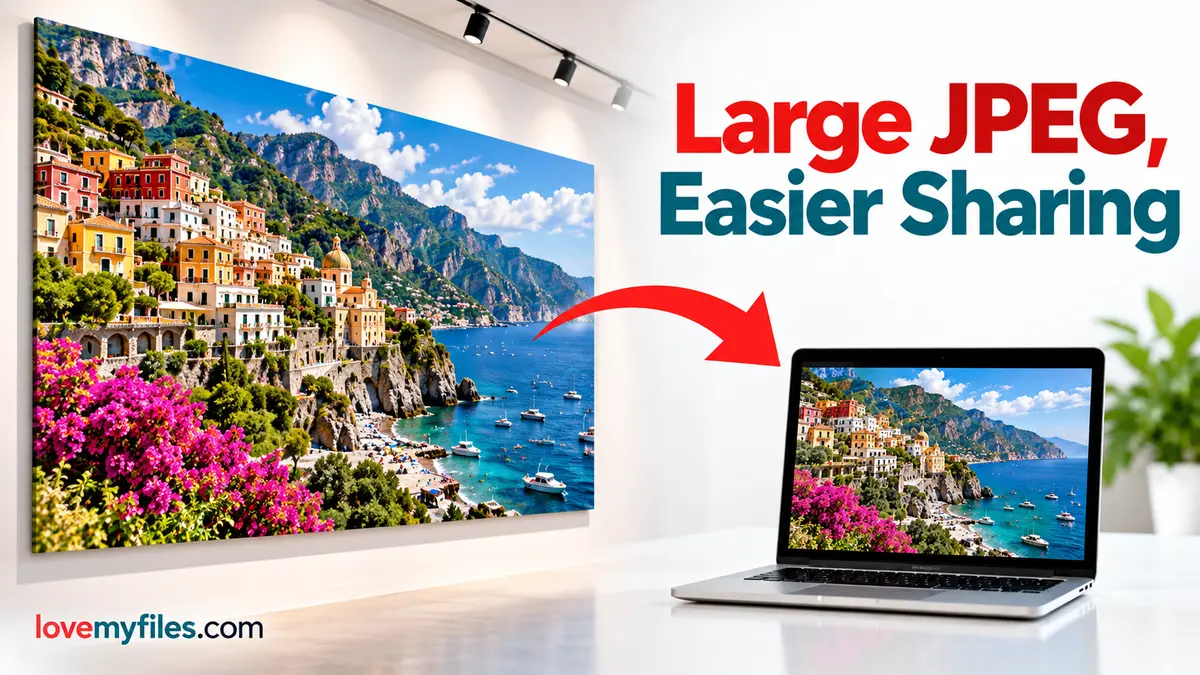
Compress a Large Print JPEG for Sharing: Pixels, Size and Colour
Prepare a lighter sharing copy of large JPEG artwork. Understand pixel limits, colour conversion, target size and why you should keep the print master.
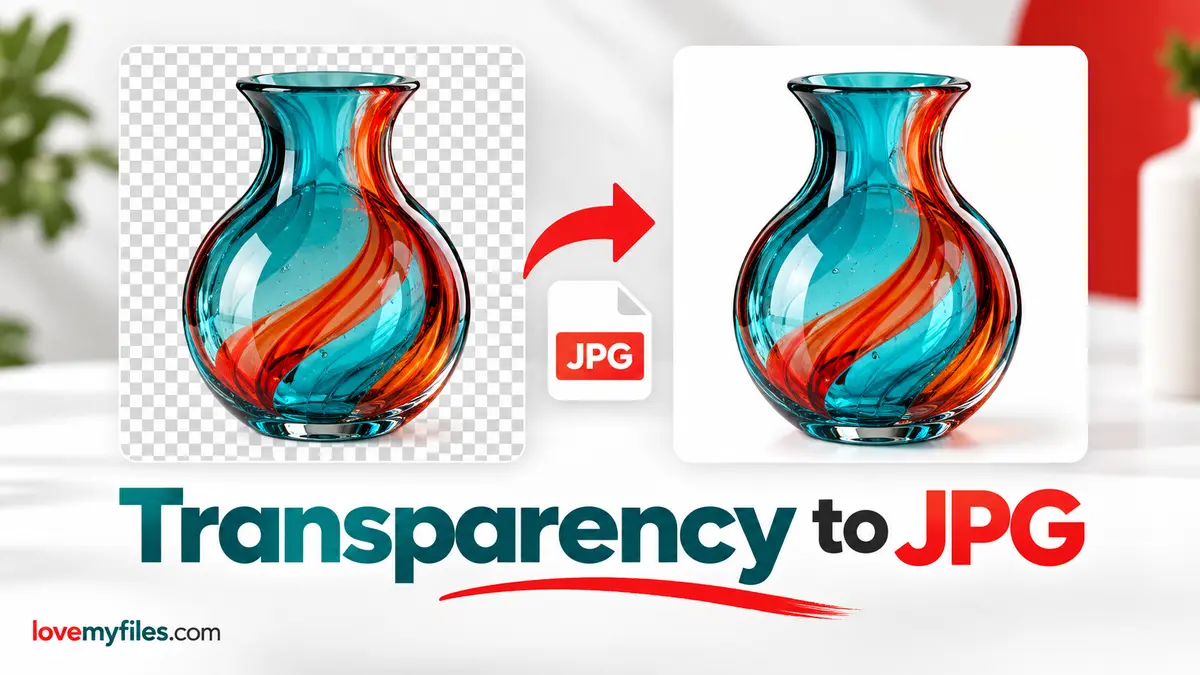
Why Transparent Images Lose Their Background When Converted to JPG
Choose PNG, WebP or a flattened JPEG for transparent artwork. Set the JPG background in LoveMyFiles and inspect edges, lettering and the downloaded copy.
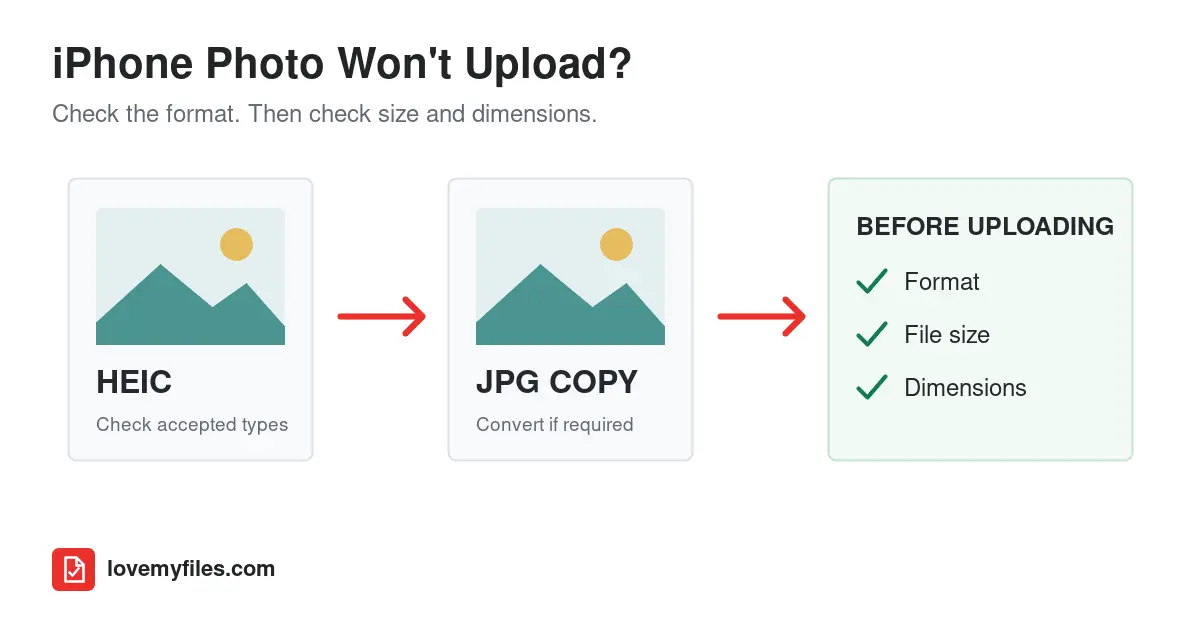
Why Won't My iPhone Photo Upload? Fix HEIC, JPG & File-Size Errors
If a form rejects your iPhone photo, check its accepted formats, file size and pixel dimensions. Convert HEIC only when needed, then compress or resize the compatible copy and reopen it before uploading.