Why Transparent Images Lose Their Background When Converted to JPG
Choose PNG, WebP or a flattened JPEG for transparent artwork. Set the JPG background in LoveMyFiles and inspect edges, lettering and the downloaded copy.
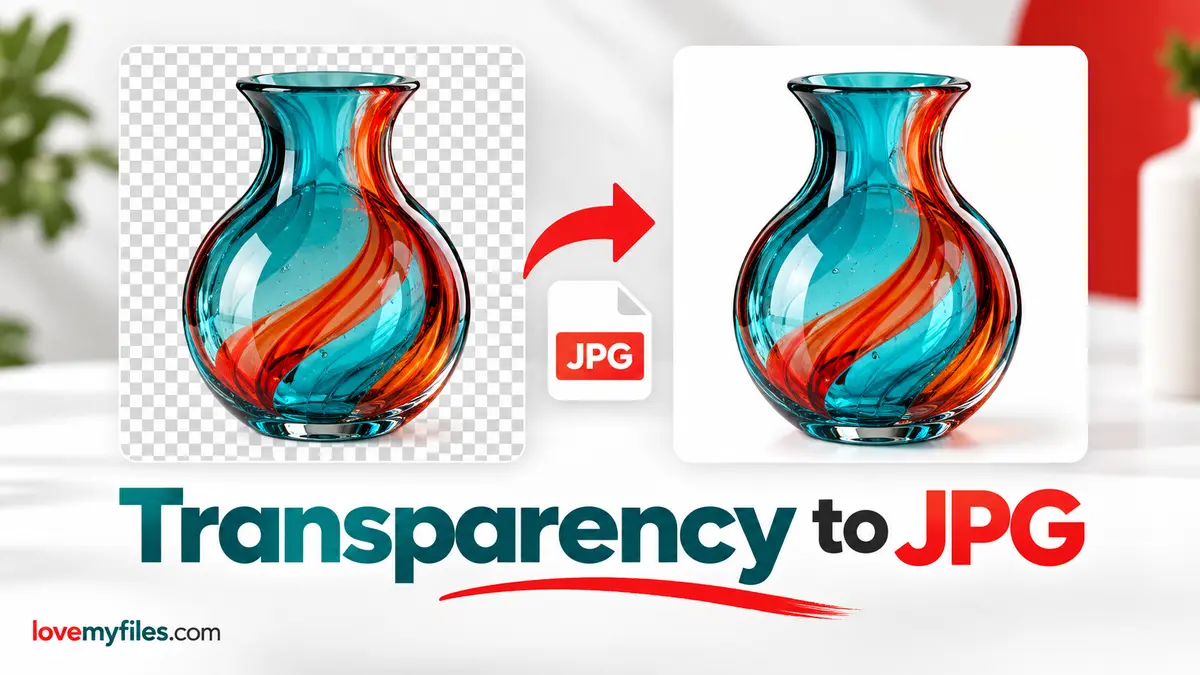
A transparent logo becomes an ordinary rectangular image when converted to JPG because JPEG does not retain an alpha transparency channel. Choose the background deliberately before converting. If the logo needs to sit naturally on different backgrounds, keep a transparency-supporting format instead.
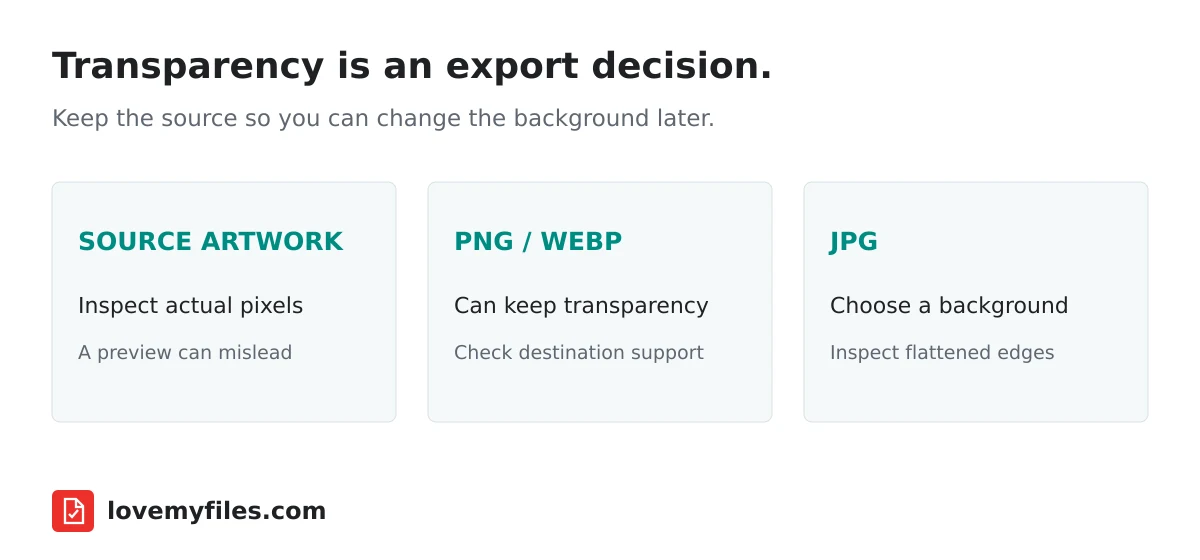
Determine whether the source is actually transparent
A checkerboard preview often represents transparent pixels, but a checkerboard can also be part of the image itself. Likewise, a logo on a white preview may have a solid white rectangle rather than transparency. Test the image on a contrasting background in an application that supports transparency.
Changing the filename from JPG to PNG does not create transparent pixels. Saving an opaque photograph as PNG also does not remove its background. Format conversion and background removal are different operations, and choosing the wrong one can leave you with a larger file that looks unchanged.
Keep the original artwork while experimenting. A flattened JPEG cannot automatically recover the exact original transparent edges because its background and subject have already been combined.
Choose the format based on the destination
PNG is a familiar option for transparent artwork. WebP can also carry transparency, including in lossy image encoding, as described in Google's WebP documentation. The useful choice depends on what the receiving website, design application or upload form accepts.
JPEG is appropriate when the destination requires an opaque image and you know the background colour. A white-background JPG may be correct for a form but unsuitable for a dark website header. The same logo can therefore need different exports for different uses.
Do not assume that the smallest file is always the right one. Sharp lettering, a required file format and acceptable edge quality can matter more than a modest byte saving. Check the actual destination requirements before selecting the export.
Set the JPG background in LoveMyFiles
Open Image Converter, choose JPG and set the background colour before adding the image. Accepted images convert automatically. White is the default; choose the colour that the final placement actually needs.
LoveMyFiles flattens transparent areas when producing JPEG. Its server conversion path also applies the selected background when alpha is removed. Download the result and inspect that file, not just the original preview beside it.
If transparency is essential, retain the original transparent artwork. The current browser converter paints the selected background even for PNG or WebP output; it is not a transparency-preserving workaround. Check alpha in the saved file with an application that supports it.
Inspect edges, not only the centre
The centre of a large logo can look fine while its edges show a halo. Semi-transparent pixels around lettering may have been prepared against a different background. When the final background changes, those partially blended pixels can become visible.
Zoom in on thin lines, curves and small text. Check the result against the intended background and at its final display size. Very high magnification helps identify defects, but normal-size inspection tells you whether they will matter to the reader.
JPEG compression can add ringing around sharp contrast boundaries. If the destination accepts PNG, retaining that format may be preferable for fine artwork. If JPG is mandatory, use a suitable quality setting and compare the downloaded image before reducing it further.
Background removal is a separate decision
If the source has a genuine solid background that you want to remove, Remove Background addresses a different task. Review and refine the cutout instead of assuming an automatic result is perfect around hair, glass, shadows or fine lettering.
Save a transparent copy before making a flattened sharing version. This keeps future background choices available. Once only the flattened result remains, later changes require reconstructing edges rather than merely choosing another background colour.
Do not describe a converted photograph as background-free just because its extension is PNG. Look at the exported pixels and test them on a contrasting surface.
Keep dimensions and file weight under control
After conversion, check the width, height and file size. Resize Image changes dimensions; Compress Image addresses file weight with its own trade-offs. Apply those steps only when the destination needs them.
For a logo, keep the aspect ratio and avoid repeated JPEG exports. For a photograph, decide whether its subject benefits from transparency at all. A normal opaque image may be the simpler and more compatible choice.
Why did my transparent image become white?
JPG cannot keep transparency. LoveMyFiles uses the chosen background colour, with white as the default.
Can I turn that JPEG back into the original transparent artwork?
Not through a format change alone. Keep the transparent source so you do not need to reconstruct its edges.
Is WebP always better than PNG?
No. Choose based on compatibility, detail and file weight, then inspect the actual export in its destination.
Try a related tool
Convert common and advanced image formats securely.
Image ConverterRelated Guides
Compress a Large Print JPEG for Sharing: Pixels, Size and Colour
Prepare a lighter sharing copy of large JPEG artwork. Understand pixel limits, colour conversion, target size and why you should keep the print master.
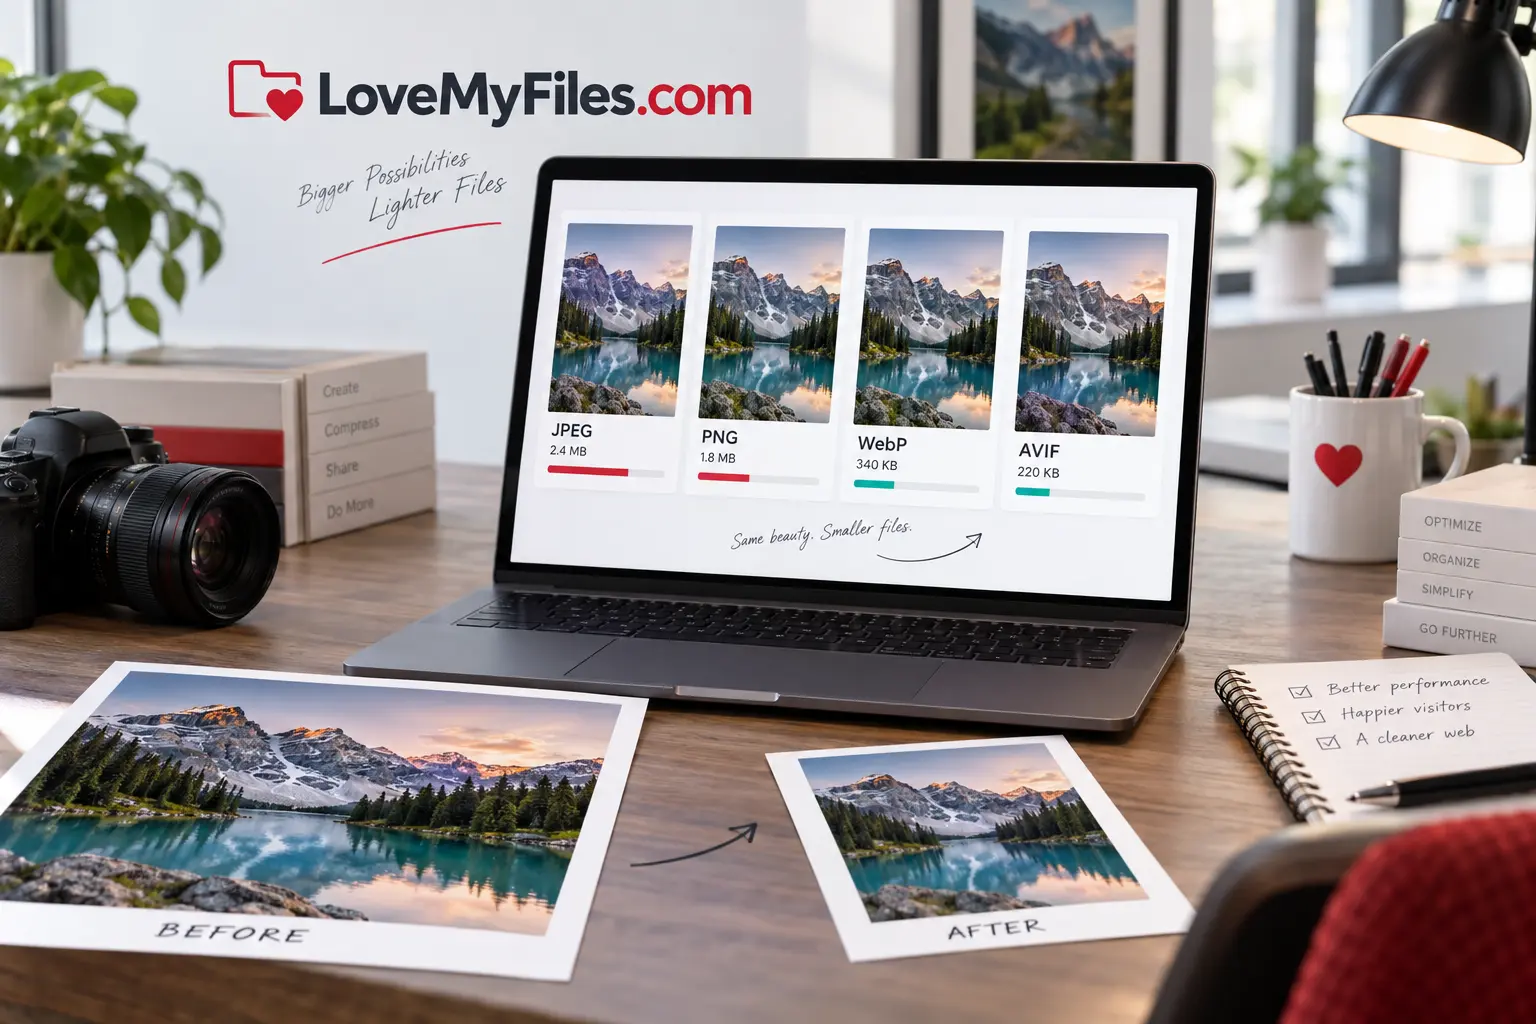
Image Optimization Guide: JPEG, PNG, WebP or AVIF?
Choose the right image format, dimensions and compression settings for faster websites, email and reliable uploads.
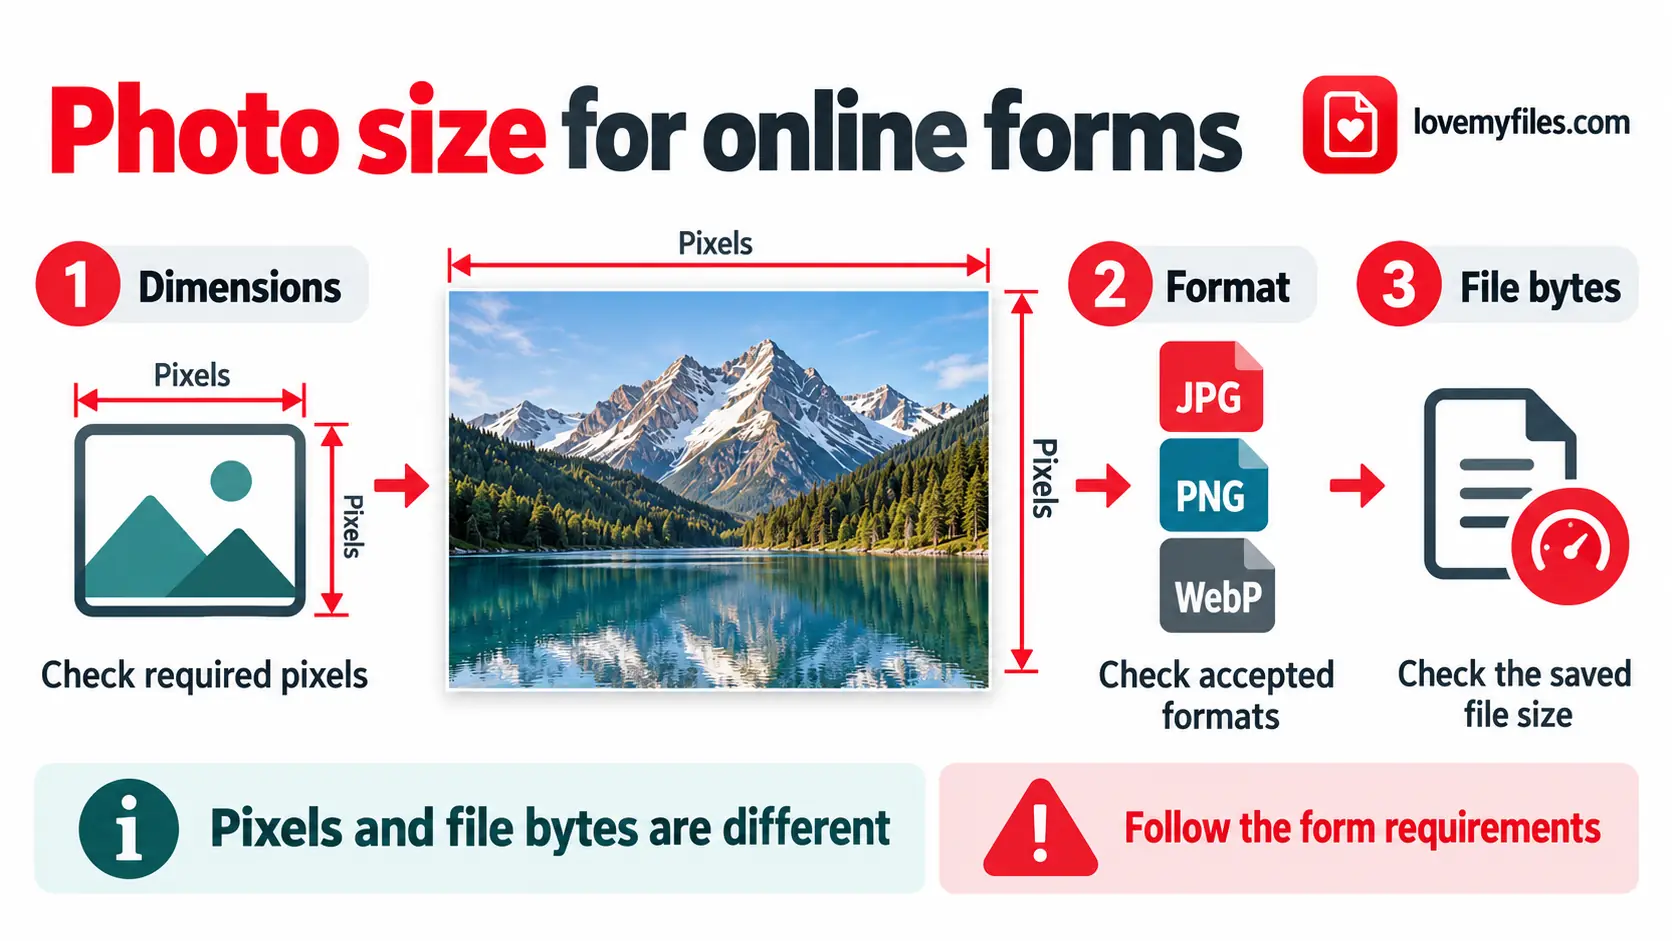
How to Reduce Photo Size to 20KB, 50KB, 100KB or 200KB
Match a photo's dimensions, format and file size to an upload form using resize, conversion and target-size compression.

Build an Event Sharing Kit with PDFs, Images, Short Links and QR
Prepare an event PDF, screen images, a managed link and a printable QR. Check privacy, file quality and the complete visitor journey before sharing.