How to Reduce Photo Size to 20KB, 50KB, 100KB or 200KB
Match a photo's dimensions, format and file size to an upload form using resize, conversion and target-size compression.
To prepare a photo for a 20KB, 50KB, 100KB or 200KB upload limit, first match the form's required pixel dimensions and file format, then compress the working copy and check its saved size. LoveMyFiles.com provides free online PDF and image tools, including Resize Image, Image Converter and Compress Image for this workflow.
Entering a target does not guarantee that the output will fit. A detailed photo at large dimensions may remain too heavy, and a form can reject a small file if its format, dimensions or content are wrong. Keep the original and inspect the download before submitting it.
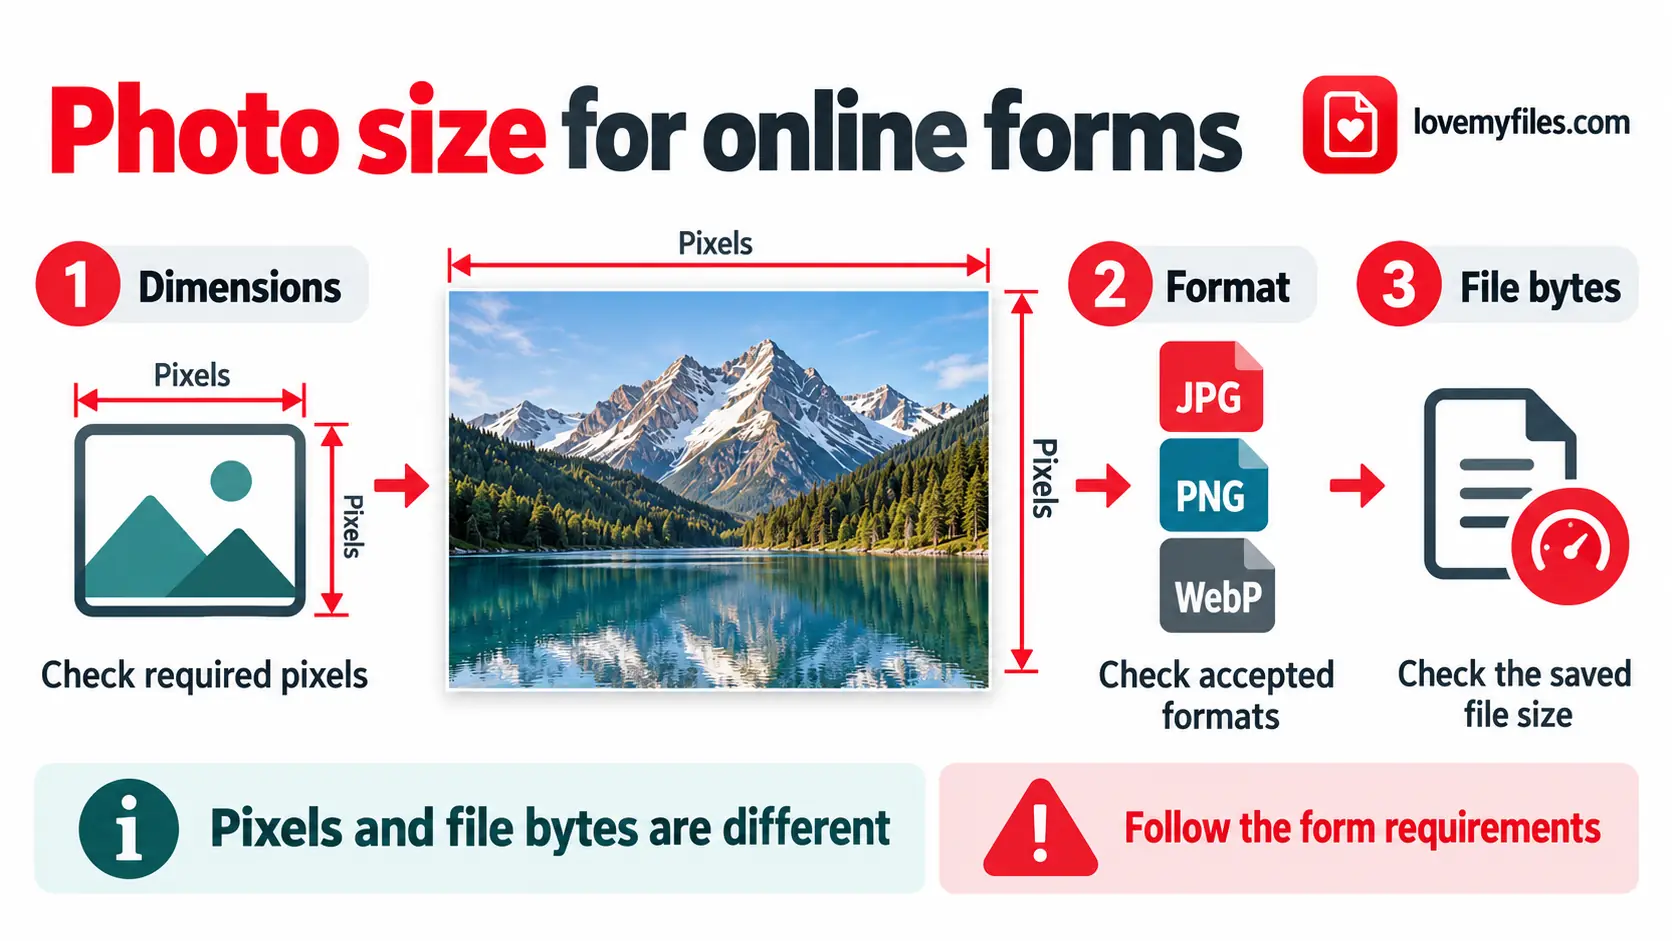
Illustration: check dimensions, format and actual file size separately. A small file alone does not establish that a form will accept it.
Pixels and KB measure different things
Pixels describe the image's width and height. Bytes describe the amount of data in the saved file. Two images with the same dimensions can have different file sizes because their content, format, compression settings and metadata differ.
For example, resizing a 6000 x 4000 photo to 1200 x 800 reduces its pixel count from 24 million to 960,000. That is a dimension calculation, not a prediction of the download size. The resulting file could still exceed a form's allowance.
| Requirement | What to change | What to check afterward |
|---|---|---|
| A specified width and height | Resize; crop first if the required proportions differ | Saved dimensions and framing |
| A maximum of 20KB, 50KB, 100KB or 200KB | Compress after choosing suitable dimensions | Actual file size in bytes |
| JPG/JPEG only | Convert to JPG if necessary | The downloaded file's real format, not just its name |
| A particular subject, background or crop | Follow the receiving form's instructions | Face, margins, signature or other required details |
There is no universal pixel size for a 100KB photo. Do not replace a form's specified dimensions with a guessed width simply because it sometimes produces a small file.
Read the upload requirements before editing
Record the accepted file types, required width and height, maximum size, and any minimum size. If the form supplies framing or background rules, record those too. Follow that form's current instructions rather than borrowing requirements from another application.
Check whether the limit is per image or for the whole submission. A photo and a signature may have separate allowances. Keep those files separate when the form asks for separate uploads.
Also distinguish the file's size from its allocated storage space. In Windows file Properties, use Size, including the byte value, rather than Size on disk. A rounded KB label near the boundary is not enough to establish acceptance.
Prepare the dimensions and format
Resize without stretching the photo
- Open Resize Image on LoveMyFiles.com and select the original JPEG, PNG or WebP.
- Choose Pixels under Unit. For proportional resizing, keep Keep aspect ratio enabled, enter either Width or Height, and leave the other field empty. The tool calculates the missing dimension.
- Choose Fit inside and leave Do not enlarge smaller images enabled. Avoid entering dimensions above the source unless the form requires them; enlargement cannot recover missing detail.
- Select Resize Image, then Download. Check the resulting dimensions and framing.
If you enter both dimensions, the fit mode matters even with aspect ratio enabled. Fit inside can leave white margins when the source and target have different proportions. When reducing dimensions, Fill and crop trims the image centrally to fill the target; review the edges. Stretch changes proportions and can make a face look wider or taller.
For a precise composition, use Crop Image first, then resize the cropped copy. Do not crop away details the receiving form requires. The enlargement checkbox is not a promise that every fit mode or output canvas remains smaller than the original.
Convert only when the form needs a different format
If the form requires JPG but the source is PNG or WebP, open the Image Converter. Choose the matching From format, select JPG under To, and set Quality and Background before selecting the file. Conversion starts automatically when an accepted file is added.
For a transparent source, JPG replaces transparent areas with a solid background in the browser workflow. Choose that color deliberately. If you also need different dimensions, Resize while converting offers width and height fields; entering one and leaving the other blank keeps the source proportions. Use the converter's output as the working copy if its dimensions are already correct.
Renaming .webp or .png to .jpg does not convert the file. For broader format decisions, read the existing image optimization guide.
Compress toward the upload limit
- Open Compress Image and select the correctly sized working copy.
- Change Compression mode from Quality to Target size. The numeric target field alone does not activate target mode.
- Enter a value in Target size (KB). Use the table below to account for the receiving form's byte convention.
- Select Compress Image and review the result. Download it, open it independently and check its actual size.
- If it is still too large, reduce dimensions only where the form permits, or try a lower target from the same working copy. Inspect readability after each attempt.
The tool searches encoding quality for the target. If you enable its resizing option, it can also reduce dimensions. Leave resizing disabled when the form requires fixed pixel dimensions. It can still return an over-target file when the requested size is impractical. If encoding would produce an equal or larger file, LoveMyFiles keeps the original bytes instead. Neither outcome proves that the receiving form's limit has been met.
Choose a starting value for 20KB, 50KB, 100KB or 200KB
LoveMyFiles multiplies the entered KB value by 1,024. The decimal kilo prefix represents 1,000, so an upload system using decimal kilobytes can have a lower byte allowance than the tool's same-number setting. NIST explains the decimal prefix.
| Form's stated maximum | If it means 1,000 bytes per KB | If it means 1,024 bytes per KB | Conservative starting target when unspecified |
|---|---|---|---|
| 20KB | 20,000 bytes | 20,480 bytes | 19 KB |
| 50KB | 50,000 bytes | 51,200 bytes | 48 KB |
| 100KB | 100,000 bytes | 102,400 bytes | 95 KB |
| 200KB | 200,000 bytes | 204,800 bytes | 190 KB |
These starting values leave room below either maximum if the compressor achieves the target. They are not tested outcomes for your photo and do not override a minimum-size requirement. If the form explicitly specifies bytes, compare against that value.
At 20KB or 50KB, inspect small features closely: faces, signature strokes and lettering can become unclear before the file is small enough. Begin with the required dimensions and a suitable crop. At 100KB or 200KB, retain useful detail whenever it fits; there is no benefit in forcing a much smaller file merely because the tool allows it.
Troubleshoot an upload that still fails
The download is above the target
Quality-only compression keeps pixel dimensions; target compression can reduce them when resizing is enabled. Check that option and the downloaded dimensions before submitting to a form with fixed requirements. Return to the resized working copy and confirm it is not larger than needed. If the form fixes dimensions and further compression makes required details unreadable, do not submit a damaged version. Check for a better source image or clarification from the form's operator.
In Quality mode, the slider sets encoding quality rather than a byte budget. In Target size mode, the encoder searches quality values, so the slider is not a guarantee of the final quality. Browser canvas quality controls apply to lossy formats such as JPEG and WebP; they are not a universal file-size percentage. MDN documents the canvas export controls.
A PNG came back as WebP
Compress Image tries WebP for PNG inputs when the browser can encode it. If that result is smaller, the download can be WebP. A PNG-only form may reject it even though it fits the byte limit.
Check the extension and actual image type. For a PNG-only requirement, try reducing dimensions within the permitted range while retaining PNG. Do not repeatedly convert a photographic file between formats and assume that each pass improves it.
The photo looks blurred or distorted
Return to the original or the resized working copy. Try a less demanding target or higher quality where the allowance permits. For distortion, revisit the crop and fit mode rather than lowering compression again. Generate each new compression attempt from the working copy, not from an already degraded download.
The displayed KB fits, but the form rejects it
Check exact bytes, the minimum size, dimensions and format. Then reopen the final file and review orientation, background and framing. Confirm that you selected the newly downloaded file rather than the larger original with a similar name. The receiving form remains the final acceptance check.
Frequently asked questions
How many pixels make a 100KB image?
There is no fixed equivalent. Pixel dimensions describe geometry; the encoded size depends on content and export settings. Use the dimensions required by the form, then measure the saved file.
Will entering 20 guarantee a file below 20KB?
No. The target may be unreachable, and the tool uses 1,024 bytes per KB. Check actual bytes and use a smaller starting target if the receiving form's convention is unknown.
Why did compression keep the original?
The attempted encoding was not smaller. The download therefore retains the original bytes and format, including its metadata. A different dimension or format strategy may be needed.
What if the form requires a size range rather than just a maximum?
Check both ends after downloading. A file below the minimum can also be rejected. Choose a target inside the allowed range and verify the result; do not pad a file with unrelated data to make its size look acceptable.
Can a correctly sized JPG still be rejected?
Yes. A form may also check dimensions, orientation, framing, background or the visible content. File size is one requirement among several.
Finish with the saved file, not the settings
An upload-ready photo has the right dimensions and format, fits the allowed byte range, and keeps the details the form needs. Open the download once more and confirm all three before submitting it.
Start with Resize Image when pixels need changing, then compress the working copy free on LoveMyFiles.com. Keep the original until the receiving form accepts the final image.
Try a related tool
Reduce JPEG, PNG and WebP file sizes with quality and target-size controls.
Compress ImageRelated Guides
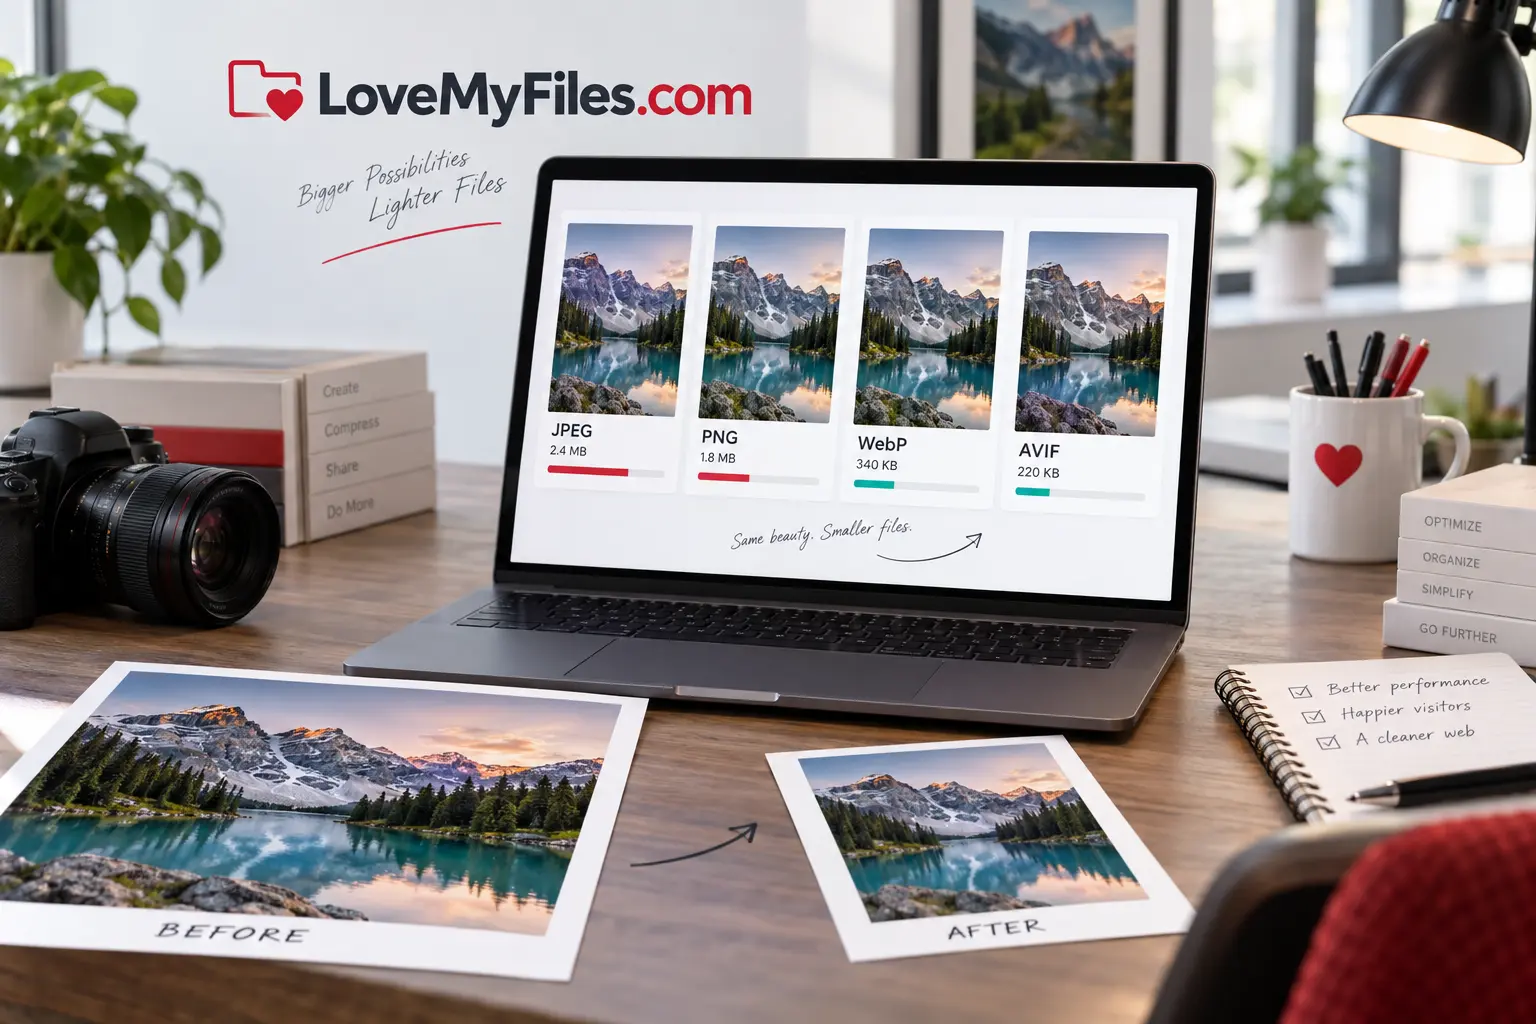
Image Optimization Guide: JPEG, PNG, WebP or AVIF?
Choose the right image format, dimensions and compression settings for faster websites, email and reliable uploads.
Compress a Large Print JPEG for Sharing: Pixels, Size and Colour
Prepare a lighter sharing copy of large JPEG artwork. Understand pixel limits, colour conversion, target size and why you should keep the print master.
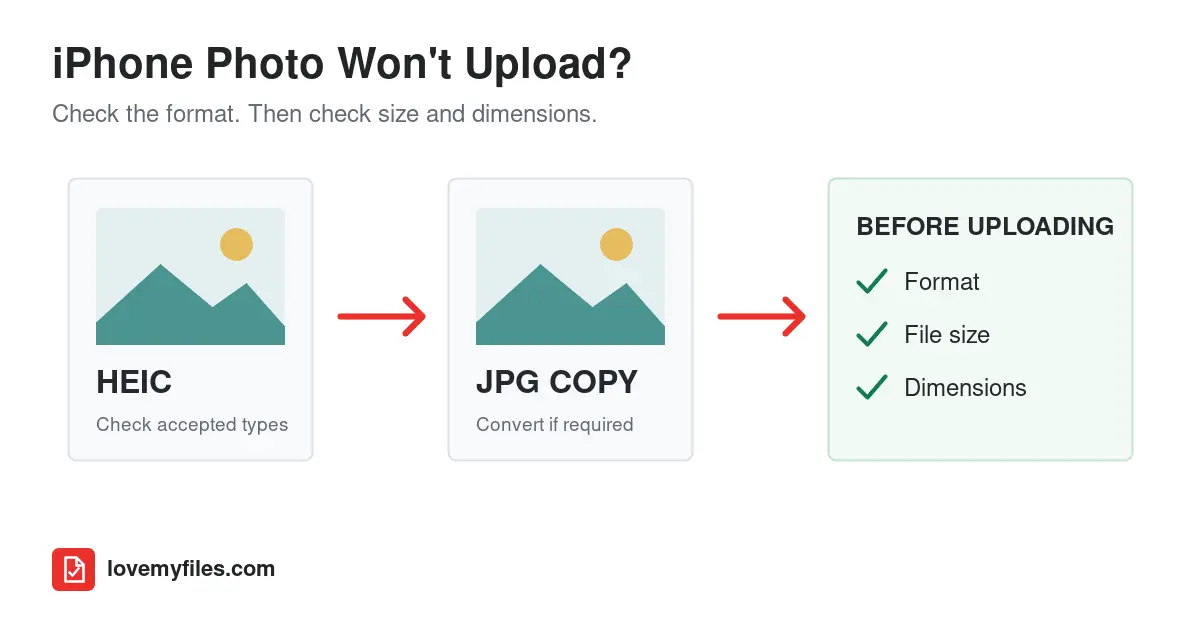
Why Won't My iPhone Photo Upload? Fix HEIC, JPG & File-Size Errors
If a form rejects your iPhone photo, check its accepted formats, file size and pixel dimensions. Convert HEIC only when needed, then compress or resize the compatible copy and reopen it before uploading.
Why Transparent Images Lose Their Background When Converted to JPG
Choose PNG, WebP or a flattened JPEG for transparent artwork. Set the JPG background in LoveMyFiles and inspect edges, lettering and the downloaded copy.